Share
Pin
Tweet
Send
Share
Send
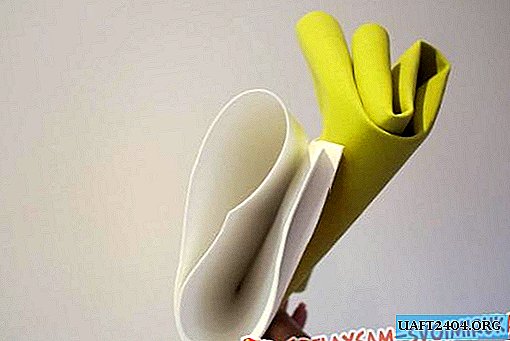
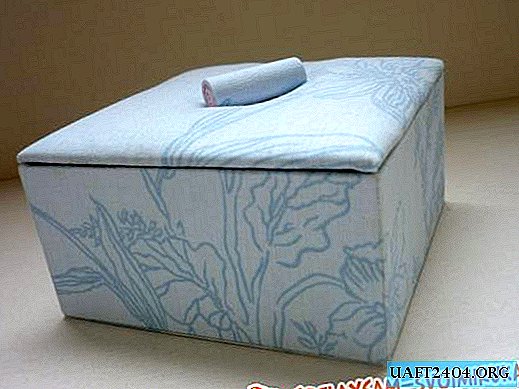
Here is such a cute bonbonniere that can serve to store various little things, and possibly sweets (in French, this is exactly what it is for).
Getting to the master class, decide what colors you would like to make a bonbonniere in. Prepare the materials and then proceed, following all the instructions.
For work, we need: a cutting mat or any hard surface that is not bad to spoil, PVA glue, glue brush, stationery knife, pencil, metal ruler, eraser, Moment Crystal glue, masking tape, whatman paper, binding paper (thick 2 mm), 100% cotton, synthetic winterizer. You will also need a stack and a spatula. In this case, the stack is plastic, but you may have wood or metal. When doing this job, you can get by with just a stack, but a spatula helps a lot to do everything quickly and accurately.

Next, you need to make blanks from binding cardboard with certain sizes. You can make the size of the bonbonniere at your discretion. The main thing to consider when calculating the thickness of the cardboard.

Mode using a clerical knife, firmly pressing a metal ruler to the cardboard at the place of cut.

Using the Crystal Moisture glue we glue parts of the walls to the bottom of the bonbonniere from the side.

After gluing two walls measuring 10x5 cm, we fix them with masking tape.

We glue the remaining walls, after which we fix all the joints with tape.


The side walls must be glued with a white Whatman paper so that the grayness of the cardboard is not illuminated through the light fabric. A spatula will help create a smooth surface.
It is important that the layer of PVA glue is as thin as possible during the entire work on the product!


Cut a strip of fabric 45 cm long, about 7 cm high. Iron and glue each side carefully with PVA. Make sure there are no bubbles. Gluing each side, we draw along it with a joint or spatula.


We cut the corners at an angle of 45, leaving a few millimeters of fabric from the corner of the product. Glue the remaining fabric to the bottom.


We do the same with the top.


We seal the bottom with a pre-prepared part, suitable in size.


We prepare the parts and glue them on the inside of the product.


The main part is ready. Let's make a lid for the bonbonniere.

We draw the diagonals and note symmetrically 3 cm in the middle. We make a cut with a clerical knife about 1.5 mm wide. This is the bottom of the cover.

Glue the synthetic winterizer to the upper part and make a cut.


It is important to follow the instructions in the figures, pressing the cover when we glue the edges. We make sure that the fabric does not move.


We will prepare for the handle two strips of Whatman paper (length = 10 cm, width = 2.9 cm) and fabric (length = 10 cm, width = 4 cm). Glue them accordingly and pass through the hole. Trim the long ends from the back and glue them in different directions.


Prepare the inside of the lid. Glue the whatman and fabric of the right size onto its outer part. Glue the finished part with glue "Crystal Moment" to the inside of the lid, fixing it well.


The bonbonniere is ready to store various little things!


Share
Pin
Tweet
Send
Share
Send