Share
Pin
Tweet
Send
Share
Send
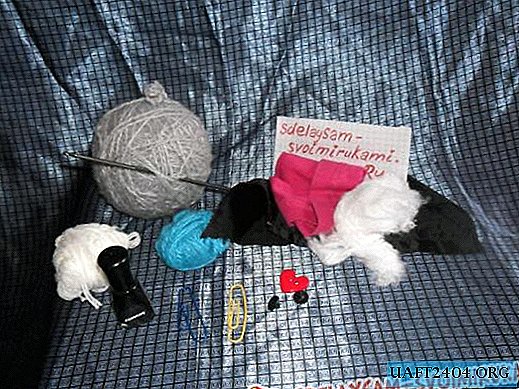
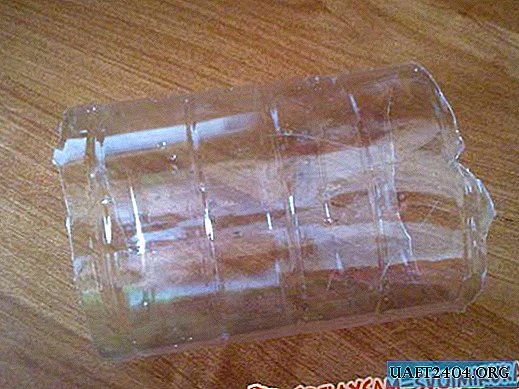
- Plastic bottle with a capacity of 3 liters.
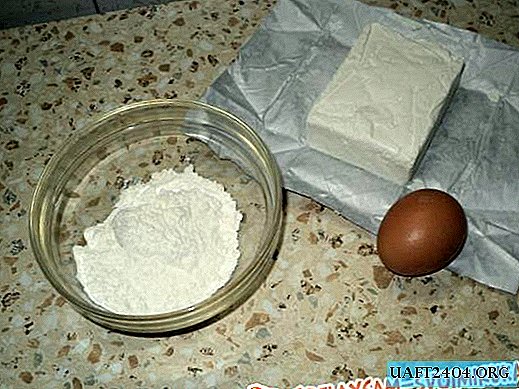
- Cement.
- Gray plastic bags.
- Scissors.
- A pencil.
- Scotch.
- Glue.
- Blister (pack of pills).
- 2 beads in black.
- White paper.
- Self-adhesive black paper.
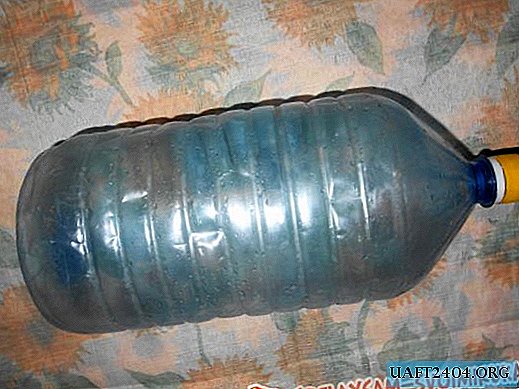
I took a bottle and poured cement mortar into it for stability. It was possible to lay stones or earth, but now it’s winter and this is not a suitable option. I wrapped the nose of the bottle with tape, making the line of transition of the bottle to the cork smoother.


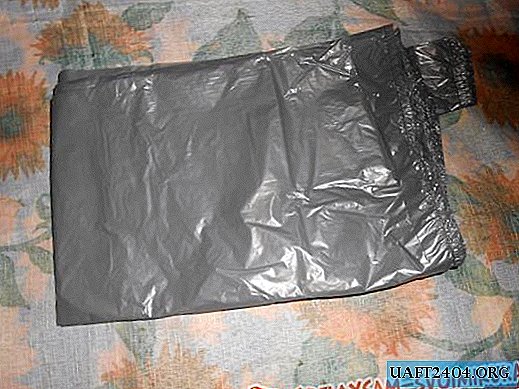
After that I took gray plastic bags. I cut them into strips 5 cm wide, the length of the whole package. With these stripes I wrapped the bottle in the place where the muzzle of the hedgehog will be. The ends are fixed with glue, and on top, for reliability, pasted with tape.
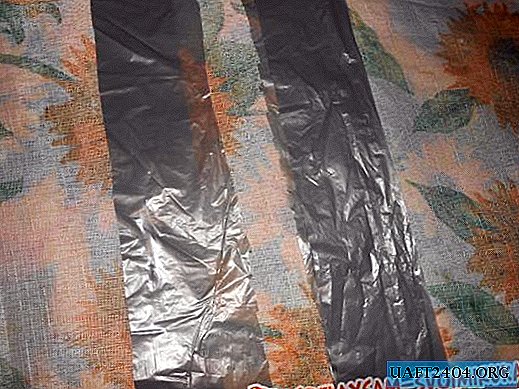
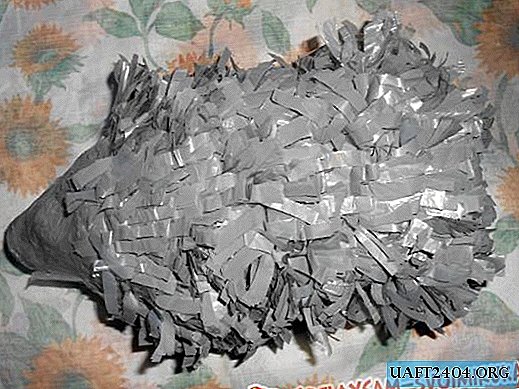
Then she took the bags again and cut the same strips. I took 2 strips, rolled them in half and cut the fringe, not cutting to the edge.


These strips, without unrolling, I fastened with adhesive tape to the body. You need to start from the wide end of the bottle.

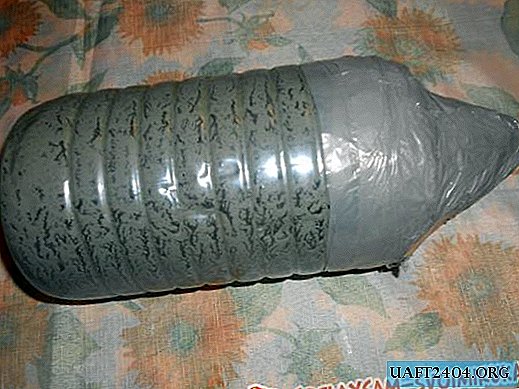
Thus, I pasted the whole hedgehog, except the muzzle and the bottom of the bottle.


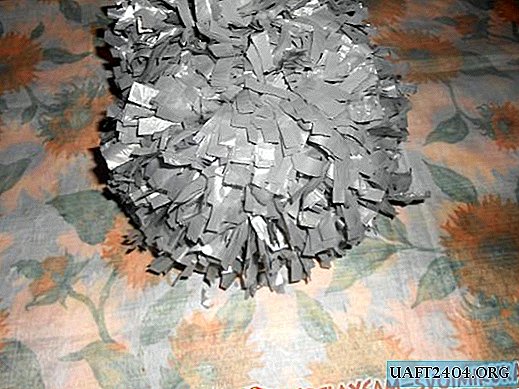
At the back I pasted the bottle a little differently. I took a strip with chopped fringe, rolled it into a tube. The end smeared with glue and stuck to the bottle.

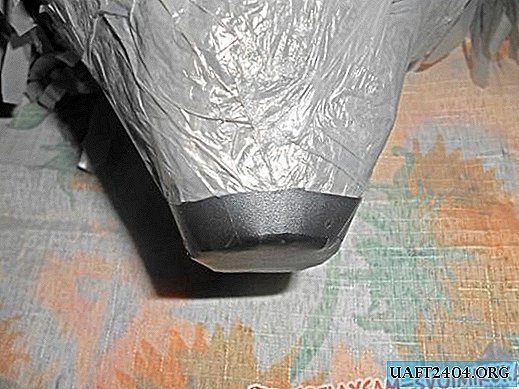
Everything, the hedgehog is almost ready for me, all that remains is to make him a muzzle. To start, I made a nose. She took black self-adhesive paper, circled her nose and added an allowance of 0.5 centimeters. After the allowance, I then made cuts. Then I cut a strip 1 centimeter wide and 6 centimeters long.


I pasted a circle on the lid, bending the glue on the nose. I glued a strip over it so that no cuts were visible on the allowance. Here's what I got.
The nose is ready. I made my eyes out of a blister. I cut two cells, from white paper I cut two circles of suitable diameter to them. All this was glued together, having previously inserted a black bead inside each eye. Then she glued her eyes to her face.
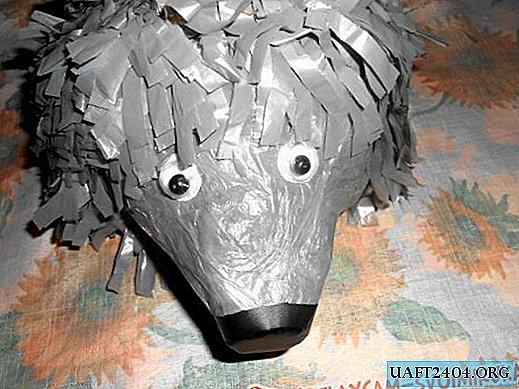
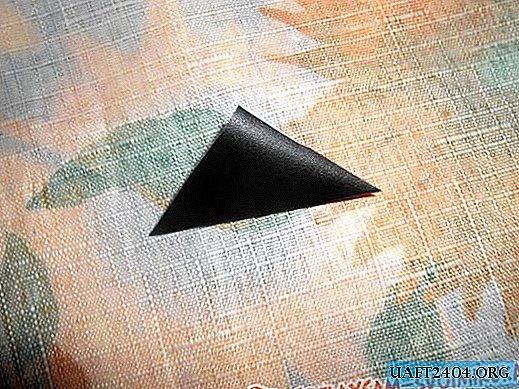
I also made ears of self-adhesive paper. Cut two squares 4x 4 centimeters. Having removed a layer of protective paper, I folded each in half diagonally. It turned out two triangles. Cut one corner in a semicircle, the ears are ready.


I glued my ears and that's it, the hedgehog is ready.
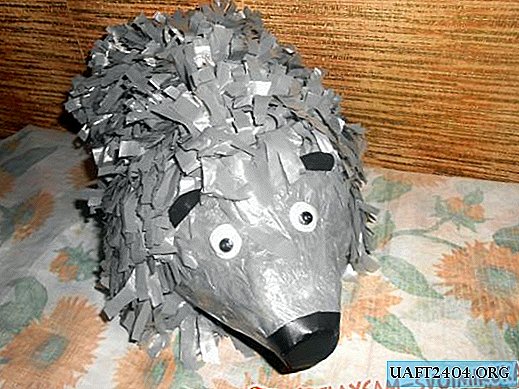
It remains to wait for spring and a new resident of the country will go to his permanent place of residence. Goodbye.
Share
Pin
Tweet
Send
Share
Send