Share
Pin
Tweet
Send
Share
Send
You can make a doll amulet from what you have. It can be ordinary threads for sewing, any yarn, etc. This MK describes the manufacture of a doll from a washcloth. You can buy it at any construction or hardware store.

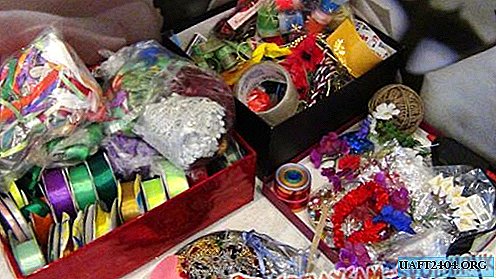
To work, we need:
- glue gun;
- multi-colored satin ribbons of various widths;
- rags of fabric;
- Matches
- scissors;
- bast brush;
- spoke;
- transparent tape;
- some lace;
- scissors.
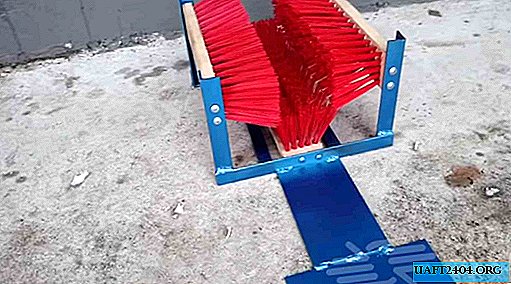
Untie the knots on the brush with the pointed edge of the knitting needle. We do not throw out the resulting ties, they will come in handy later on.


Inside the brush, the bast is squeezed out by the bark of a tree, which is not only poorly fixed, but also very crumbles. Why around the table it becomes garbage constantly. Press the bark with one hand, and secure the transparent tape with the other with your free hand.


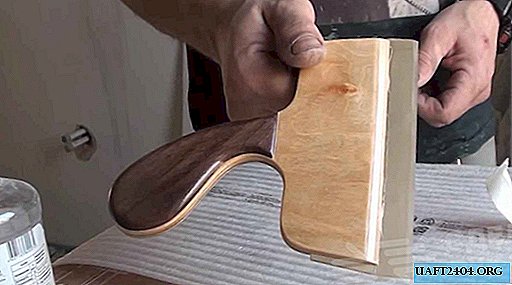
After that, we straighten the fibers as shown in the photo to form the future head of our doll.

We tie the remaining ties two knots above the edge of the cortex, leaving long ends for the eyelet.

Using the knitting needles, we align the fibers.

Separate equal bundles for hands on the sides.

At 1/3, we tie all the lengths of the bundle with the rest of the bast, first one knot. If you use threads, then two, as the node of them will "slip".

We bend in half and put the bundle on the first nodule.

We are now tying it on two knots and tucking the ends from the bast into the bundle.

We repeat the same procedure on the other hand. In the end, it should turn out like this.

Cut the sticking fibers from two sides with scissors.

We make a loop at the back.

Cut a piece of 10x10 cm from any fabric.

We tie it around the doll’s head in any way. And with a glue gun we fix.

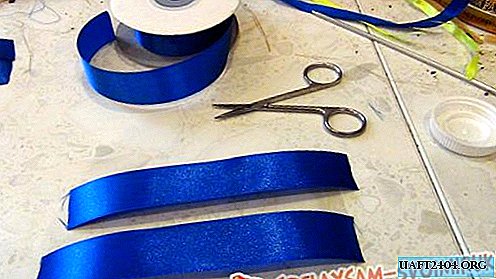
We cut a satin ribbon (width 2.5 cm) into 6 segments of 5 cm length.

Then, from a tape of a similar color (width 5 cm), we make two identical segments of 10 cm. All 8 segments must be scorched so that the tapes do not “crumble”.
Alternately, glue the short strips on the "hands" of the doll, begin to glue them from below, overlaying the next over the previous one.


We glue the resulting shoulders with narrow (width 1.5 cm) satin ribbons of the same color 12 cm long.


Then we close the body of the beregini doll with wide ribbons.


A flap of fabric with a special beveled cut on one side is processed on an overlock.


We collect the edge of the fabric on the needle in one direction, and then, turning the flap over, reassemble in the other direction.


Glue the resulting skirt to the bottom edge of the tape.

After we close the place of gluing with tape (length 25 cm).

Cut a fragment from the lace ribbon and glue it onto the charm doll.


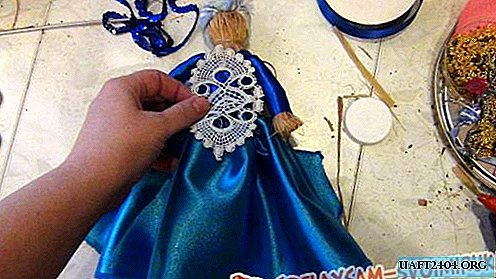
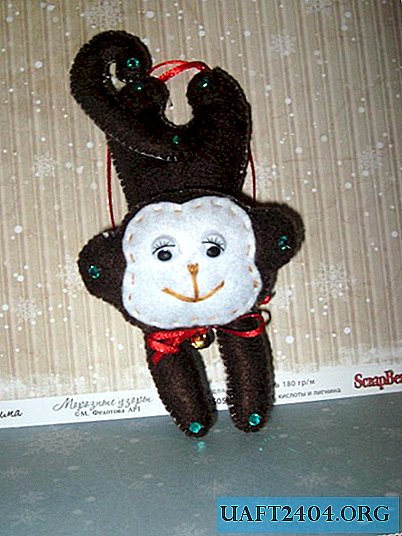
The doll amulet is ready! Give for happiness!

Share
Pin
Tweet
Send
Share
Send