Share
Pin
Tweet
Send
Share
Send
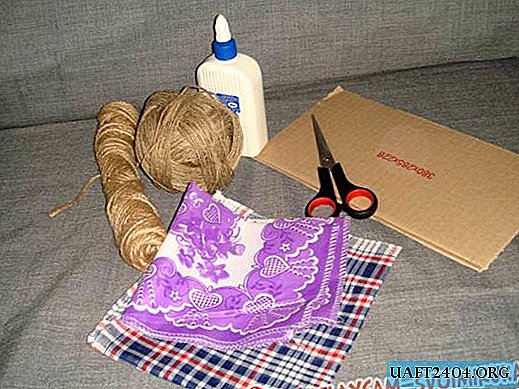
To make such butterflies, you will need:
- Black fabric and blue fabric;
- Black, red or brown fabric with a fleecy surface;
- Threads of red, white, blue and black;
- Ribbon from under a bow, a needle, a large bead;
- Scissors, glue, cotton wool or synthetic winterizer;
- White cardboard paper;
- Colored paper;
- Pencil or stick for hanging toys;
- Covers for carbonated drinks, thick cardboard, beads of different sizes.
To make butterflies' torsos, I took the fabric from the headgear, cut out the torso samples and sewed them from the outside, leaving everyone with a slight indentation in the front, in the neck. And then she filled it with cotton wool using tweezers (tweezers help further push the filler into a thin and narrow hole):

Then I set about making heads; I decided to make rattles for them from caps from carbonated drinks. Filling with beads, we cover them on top with pieces of cardboard made to size especially for them. But I didn’t have enough of one lid for a carbonated drink, and I decided to take an oblong lid from a perfume bottle instead.

Covers filled with beads would be most convenient to glue with super glue, but it can be toxic to children. Ordinary glue would also not work because it is not reliable and is applied too widely on the surface of the paper, because of which the beads can stick to the lid; I preferred to glue the covers with transparent tape.
We make green rattles the outer shells of black fabric, such as shown in the photo:

First, you should connect the intermediate sides in each rounded figure with a seam, and then sew them together, putting on a rattle:


Now we sew the heads to the torso of the toys (for this we needed to leave a slight indentation at the torso in the neck):

Now we take a pink bow and create folds in it, so that the bow becomes magnificent. Then, adjusting the folds, divide it into three equal parts, after which we sew to the toys:


Cut out wings, antennae and eyes from cardboard:

Next, from black paper with a satin surface, make two more pairs of antennae, and glue the pupils to the white eyes:

Glue the eyes to the head, and then, making a small hole in the tissue of the toy head, insert it in and glue it, then sew the hole made for the antennae:


Next, we sew the cardboard wings of the butterflies and give them a color. I chose black, yellow and green colors and painted the wings, giving them the color of the natural whites that exist in nature. Here is the front view of the wings:

Here is a view of the wings from the back:

Sew wings to butterflies:

Now we set about making a bow from a blue fabric. Taking the fabric, we fold it so that it becomes narrow, and then sew it with a small stitch from the outside:


We give the finished fabric a bow shape and sew a bead on top:

Now we tie each toy for a thread to a stick or pencil, and we tie a bow.


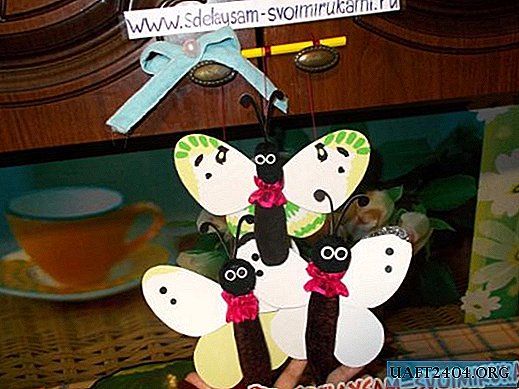
That's it - our toys are ready. It will be interesting for the child to play with them, and because the wings and eyes are easy to sew on, they can be replaced with new ones that will be more beautiful. You can add paws to the body, or a smile to the face.


Sincerely, Vorobyov Dinara.
Share
Pin
Tweet
Send
Share
Send