Share
Pin
Tweet
Send
Share
Send
As a material, a dense felt is suitable, which minimizes the time spent on processing the edges from sprinkling. If there is no felt, you can replace it with any synthetic analogue.
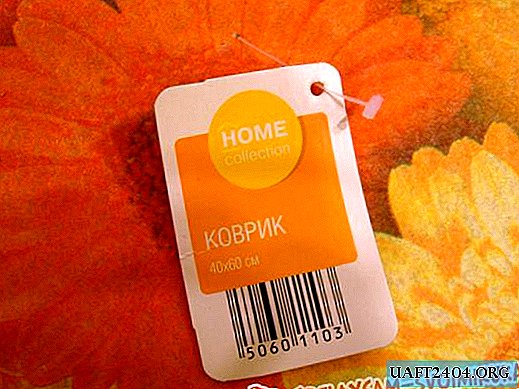
The bag shown in the example is sewn from a dense synthetic rug, which was purchased at a well-known store with a fixed price.


In addition to the material you will need:
ruler, thimble, sewing machine or needle, clothespins or needles for clamping material, a pencil or remnant, matching threads, scissors for the material, the old belt as a future handle or you will have to sew it (knit).
The mat used had dimensions 40 * 60 cm, with which the bag turned out to be of medium size.
Actions:
1. You need to fold the material in half so that the ends coincide. The wrong side should look inward. The edges are better fixed for convenience.

2. It is necessary to determine the width of the future bag and cut strips for the side parts and the bottom from the edges of the material. In the example, 7 cm strips were used. 7 cm were measured in the lateral edge, and 3.5 cm in the lower part, at the fold, since when the strip is straightened, 7 cm is obtained.


3. At this point, the side parts are sewn. A strip is applied to the material so that the edges converge on all sides as in the photograph.


Details are fixed with clothespins.

4. Stitch the parts together.


5. Similarly fasten the material with clothespins, and sew parts on the other side.


If during the stitching of parts your machine breaks down - it does not matter. You can continue the work with a simple needle and thread, resorting to a special technique of manual seam, which simulates a machine line.


6. From the second side, the parts are stitched in the same way.


It turned out a box without a bottom.


7. Now you need to sew the bottom to the bag using the technique of side parts.


Thanks to the dense material, the bag holds its shape perfectly.


8. On the sides there are extra centimeters of fabric that need to be folded and hemmed, if this is the bottom of the bag.


From above it is possible not to bend, but simply to trim. The material still does not require overcasting, because it does not crumble.


9. At this point, you need to think about a pen. It can be sewn from any material that matches the color, or crochet the strip, or find an old unwanted belt.
In the demo, a dermatin belt is used, the length of which allows you to make a handle for the bag.


The matter is left to the small. You need to use clothespins to try different length variations with a belt, choose the option you like, then cut the buckle and sew it on the bag. From the whole belt you get one long handle that will allow you to carry a bag over your shoulder, or two short ones for carrying in your hands.


The bag turned out quite roomy. It easily contains 2 bottles of kefir, a loaf of bread, 2-3 packs of rice or buckwheat, as well as small boxes or sachets, for example, tea and sweets. With such a bag, you can go shopping at a bookstore and stationery and buy all the items you need for school.
Share
Pin
Tweet
Send
Share
Send