Share
Pin
Tweet
Send
Share
Send
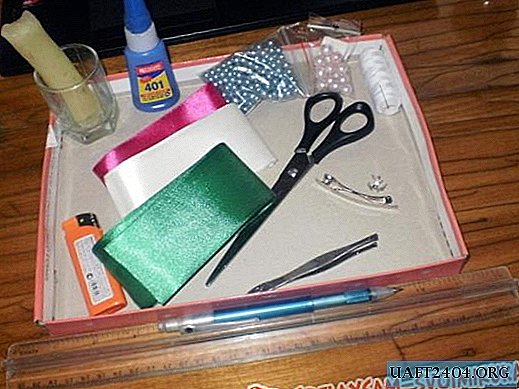
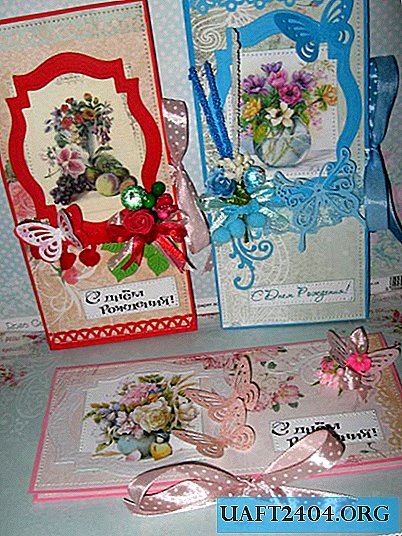
For this master class we take:
• Three sheets of cardboard A4 pink, red and blue;
• Three sheets of scrapbook paper of delicate colors, size 30 * 30 cm;
• Satin ribbon with polka dots pink and blue 12 mm wide;
• Blue cotton lace;
• Three carved frames red, white and blue;
• Pictures with floral motifs;
• Twigs colored blue, white and pink;
• Sugar berries red, green, blue, white;
• Stamens red and white;
• Butterflies cut out red, pink and blue;
• Latex red roses;
• Blue fabric roses;
• Ribbon with pompons;
• Paper curls from felling;
• Printed inscriptions "Happy Birthday";
• Paper roses with pink buds;
• Green leaves;
• The middle of polymer clay is red and pink;
• Ribbons for satin and organza bows;
• Curb hole punch;
• PVA glue, glue stick, ruler, scissors, pencil, glue gun, lighter, double-sided tape.

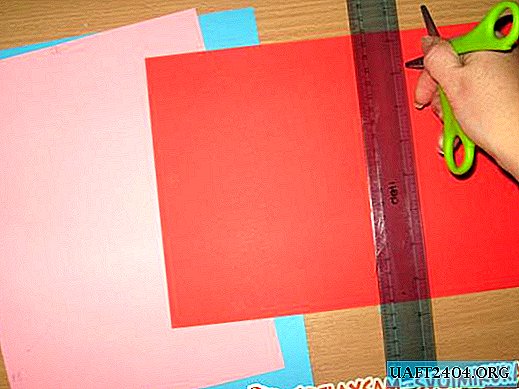
The first thing we start with, from the sheets of cardboard we need to make the basics of envelopes. Each one is made in the size of 20 * 28.5 cm. The pieces of cardboard that remain do the lace punch, then come in handy for decoration.


Divide all three sheets into three parts and fold the blanks. One envelope will be horizontal and two vertical.

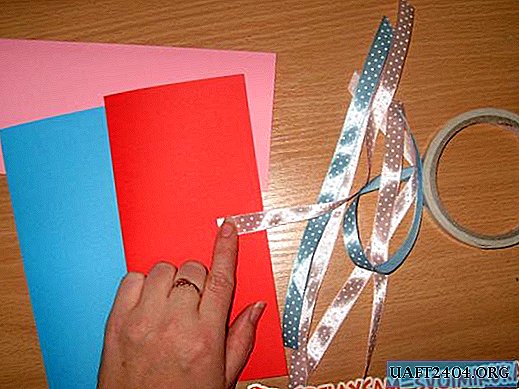
We cut off six strips of polka dot ribbons, burn the edges and glue to the basics (envelope ties).

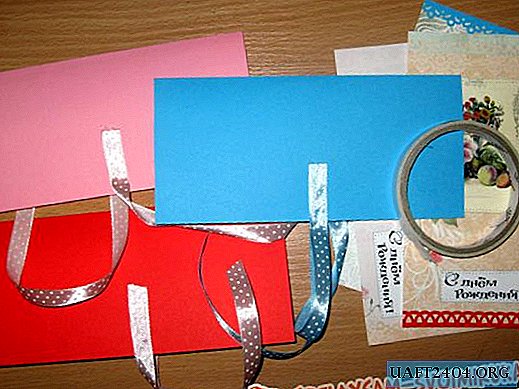
Now we cut out three rectangles of 9.2 * 19.7 cm from two sheets of scrapbook paper for two envelopes, and for the third 9 * 20 cm and 8 * 20 cm. In vertical envelopes we make sections, respectively, and cut off the scrapbooking.


We glue the inner and back parts of the envelopes with scrapbook blanks.


The remaining rectangles (front parts) will be decorated. We tint edges of pictures and inscriptions.


We glue them with double-sided tape. Also glue the lace stripes of cardboard. Sew inscriptions with pictures.


Now we also glue the front parts of the envelopes, separately we sew on each side with a typewriter.

Glue the inner pockets and frames with glue stick and PVA. Now we make bouquets of flowers, stamens and twigs, ribbons bows.


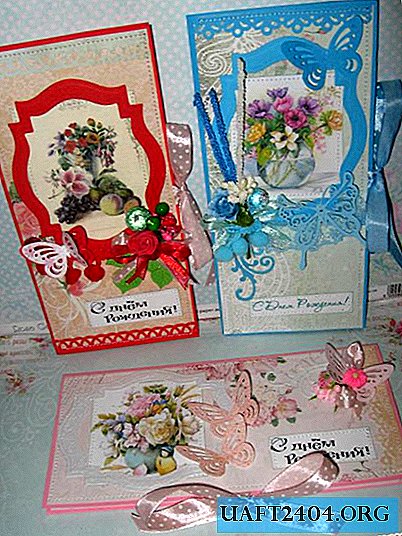
With a glue gun we decorate our envelopes with different beauties. Tie on bows and you're done! Here are such tender and bright congratulatory envelopes. Thanks for your attention!


Share
Pin
Tweet
Send
Share
Send