Share
Pin
Tweet
Send
Share
Send
So, for its manufacture we take:
• Scheme template;
• Watercolor paper 20 * 35 cm;
• Scrapbook paper from the Shabby collection, as well as the Scrapmir brand;
• Die cutting of various shapes, sizes and colors of TM Scrapmir;
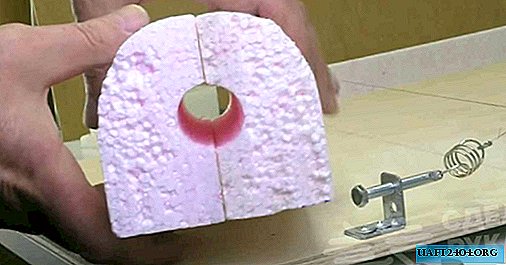
• Felling small red hearts, a red big heart, as well as a hollow openwork peach-colored heart;
• 3D hole punch butterfly;
• Lace border hole punch;
• Printed inscriptions "I love you", "With Love", a poem on a love theme;
• Stamping "With love";
• Pictures of bears and bunnies with hearts;
• Glue stick, scissors, ruler, sewing machine, pencil;
• Pillow with gold ink for tinting;
• Glue gun.

All designations are indicated in centimeters by template, so the workpiece is 18 cm in height and 35 cm in width. There are also three partitions in the card for gluing air elements. We cut out such a blank from watercolor. We make cuts in three places, they are indicated by solid lines in the diagram. And where the dotted lines are, we make a bend under the ruler.


This is what a folded postcard looks like. Now we will decorate it.


From scrapbook paper we cut out such different squares and rectangles. We combine some from different papers and glue them together. Also on the edges we glue strips made by a lace hole punch.


Now we begin all these elements, as if scratching along the ribs with scissors. And we need to protonate the base along the edges and bends with a pillow.


Now glue with glue stick poems, inscriptions and pictures, which are also tinted around the edges.


We cut out three strips, as in the diagram for partitions, also make them curly with a lace hole punch.


We sew each inscription, picture, rhyme.


Now we glue all the scrap parts from the paper onto a watercolor base.


Now, with a typewriter, flash each edge of the card separately.


Inside we glue partitions.


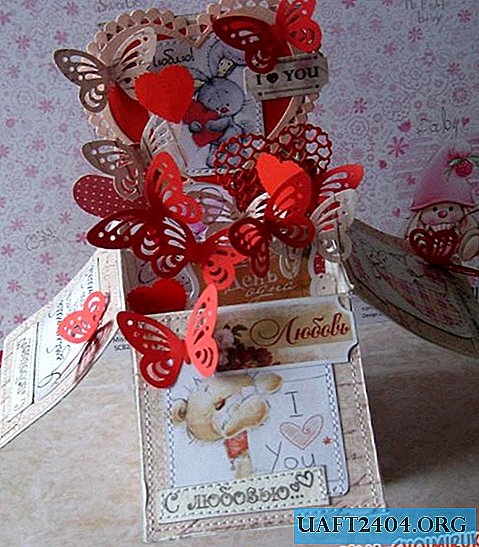
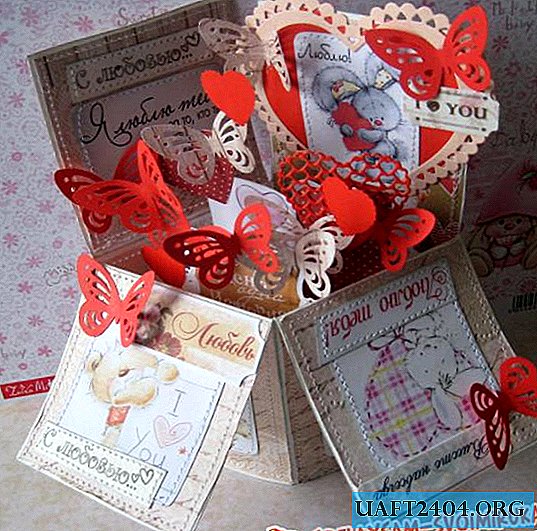
And now there is very little left. On the front we glue the hare on a red heart, and on top a peach hollow heart. Now with a gun we glue die cuts and butterflies on them.


Done! Here we have such an air card, which is folded and laid out and put on the table, like a box. Thanks for your attention!


Share
Pin
Tweet
Send
Share
Send