Share
Pin
Tweet
Send
Share
Send
In order to sew such a skirt, we needed:
- The fabric is light brown silk;
- scissors;
- White threads;
- Sewing and stabbing needles;
- A zipper;
- Several decorative figures of flowers;
- Measuring tape (centimeter);
- Paper and a simple pencil.
Getting started, we measured the sizes for the future skirt using a special tape: the length from the waist (hips) to the knees, the circumference of the waist and hips and measured the distance of one step (outstretched leg).
It is necessary to measure this distance in order to calculate correctly the volume of the future skirt and not to make it too narrow.
For example, in our case, the circumference of the hips is 73 cm, the waist circumference is 67 cm, the length from the waist to the knees is 51 cm, and the step length is 120 cm.
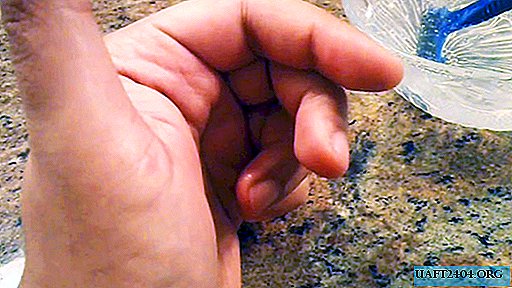
Having received all the necessary data for sewing, we take the fabric and, having counted about 1.5 cm in the upper side and on the sides for allowance, cut off the desired piece (we have 153 cm in width and 155 cm in length), after which we fold a certain number of folds on one of the longitudinal sides of the fabric (from 10 to 12, 3.6 cm each) to “squeeze” it and make it equal in length to the waist circumference. Each fold must be fastened with needles for stabbing:

Next, we sew all the folds:

After that, the upper fabric, which is an allowance, must be folded several times so that the trimmed fabric is hidden, and fixed with needles, and then sew:

After that, we set about making the belt. First, we take a piece of fabric, equal in length to the circumference of the waist or hips, and a width of about 10 - 12 cm. Putting it along, fasten it with needles for stabbing, and then sew. If there is no piece of fabric of suitable length and there are only short ones, you can take them and make two parts of the future belt out of them, and then sew them together. When sewing, you can use a special machine, but if it is not, you can sew manually:

For sewing, we took two short pieces of fabric. Each stitched piece we need to turn out of the wrong side, and then connect the two ends together.

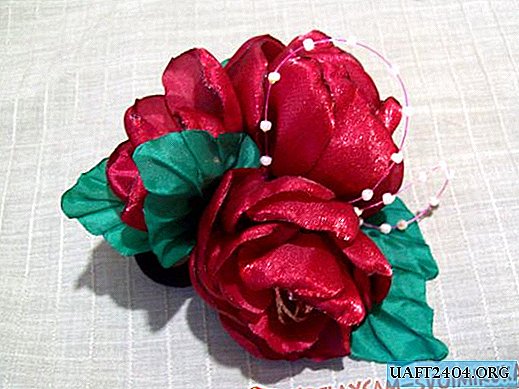
You need to sew them so that you can hide too noticeable seam in the middle. It can be hidden, for example, behind decorative figures of flowers:

Next, we sew a skirt to the resulting belt for the allowance sections. So that the skirt could be worn without problems if it turns out to be too narrow, we sewed a zipper on the back. We also decided to connect the longitudinal sides of the skirt with seams, folding the allowance sections several times in them.
We sewed by hand, and due to the tightening of the thread, we got a little uneven. Having turned the resulting skirt out from the inside, let's see how it looks in front:

However, the back of the skirt turned out to be uneven and needed to be repaired. So she looks inside out:

Having cut off the excess, we fold the ends of the fabric several times and stab them with needles:

To make seams more accurately and faster, we used a sewing machine. The seams were perfect and the edges of the skirt became smoother:

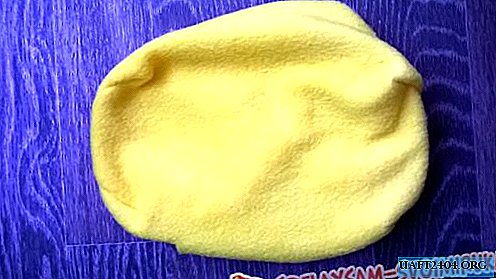
Next we need to take a fabric up to 120 cm wide and up to 16 cm long, and measure small sections of allowance (from 1.5 cm) along the edges. Then, having folded the upper edges of this fabric several times, stitch them. This fabric will be the ruffled trim for our skirt. However, in our case, there was no long fabric, and therefore we decided to sew together three pieces of fabric (40 cm long and 16 cm wide):

Next, we sew the upper edges of all pieces of fabric, and then connect all of them together:

Having sewn all three parts, we set about wrapping the bottom edge of the fabric. To make the fabric look like a frill, we decided to make half-loop seams:

In this embroidery, you need not to tighten the thread too tight: then the fabric will be able to take up and it will need to be adjusted. And in case the thread runs out, you will need to carefully tie a new one to the remaining thread. It will be convenient:


Thus, we get fringed fabric:

Next, we need to "fit" the upper side of the fabric in size to the length of the belt. To do this, we decided to fold many different folds in the fabric and sew them. Then we decided to sew the side edges of the resulting fabric and attach it to the skirt under the belt. First, we decided to make sure that the fabric is fully suitable in size and length to the skirt, and therefore pinned it with needles under the belt:

The lightning already seems to us not so unevenly sewn. When sewing fringed fabric, the tubercles formed during the assembly of folds, we decided to fold not sideways, but “spread” in half so that there would not be too large tubercles that would be difficult to stitch:

Hand sewing here can take about an hour. This is how the finished skirt looks:

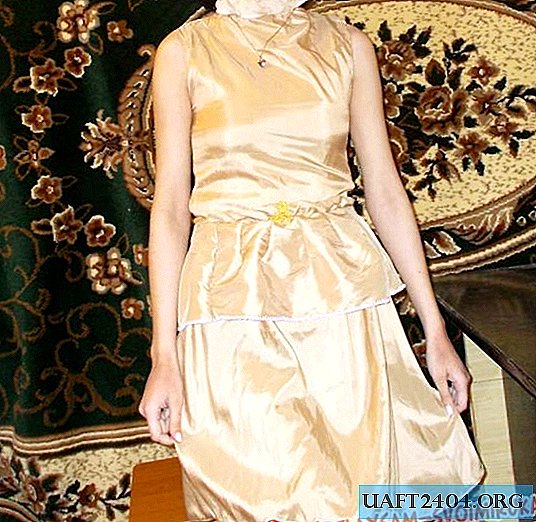
Having made it from improvised materials, you can save time and money on the purchase. In total, it took us five days to make it, since we almost always worked on it manually. So she looks, if put on:
Sincerely, Vorobyov Dinara.
Share
Pin
Tweet
Send
Share
Send