Share
Pin
Tweet
Send
Share
Send
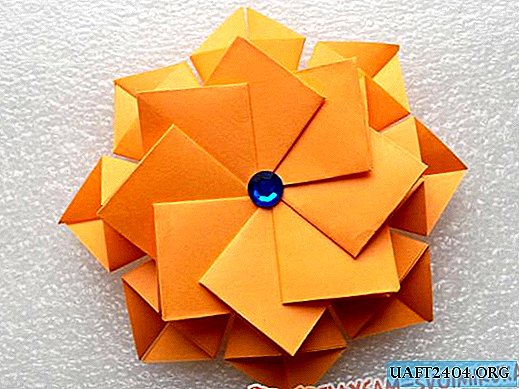
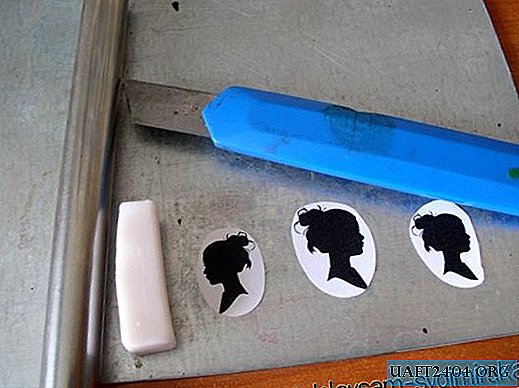
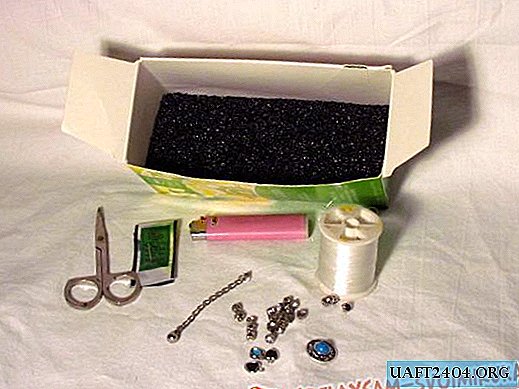
For work, you need 9 blanks of colored paper of a square shape, PVA glue, a pencil, a round stroke object, scissors and a decorative core for a flower.

We begin the manufacture of one module, which will be the petal. To do this, we fold the square sheet along two diagonals.

After that, we make a blank in the form of a double triangle.

On one side we bend its corners up.

Spread out our sheet.

We bend the upper corners of the square.

Turn the workpiece over to the other side and fold it as follows.

We unfold the blank of the future petal on the side where there is a triangle.

We make bends of its corners down, combining in the midline.

For a flower we need eight such blanks.

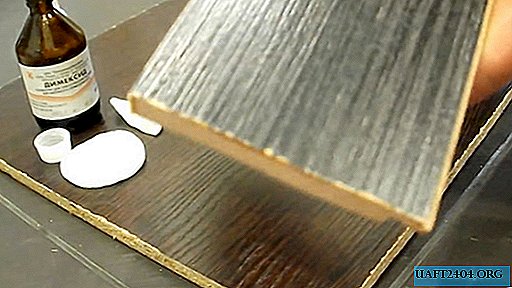
From the remaining sheet, cut out a circle and outline bends on it by folding in half. As a result, the circle is divided into 4 parts. This will be the base of the flower.

On the back of the petal, apply a little glue and apply it to the base. It is important that the top of the petal is aligned with the center of the circle.

Next, glue the next petal, the upper part of which will slightly overlap the previous one.

Thus, we fix all the petals on the base.

To decorate the middle of the flower, we will use a decorative element.

Share
Pin
Tweet
Send
Share
Send