Share
Pin
Tweet
Send
Share
Send
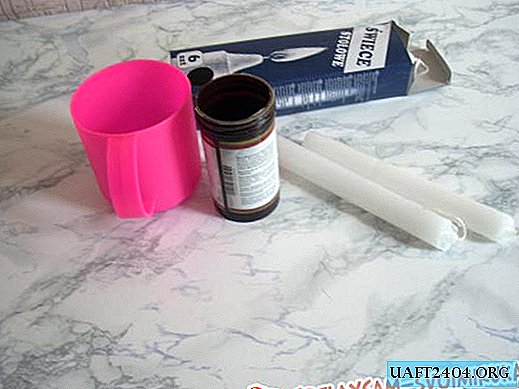
To work, you will need:
- scheme of work;
- a set of colored double-sided paper (several pieces of the same color);
- white sheets;
- a sheet of dense snow-white cardboard;
- a pencil and a long ruler;
- scissors;
- tube with PVA glue.
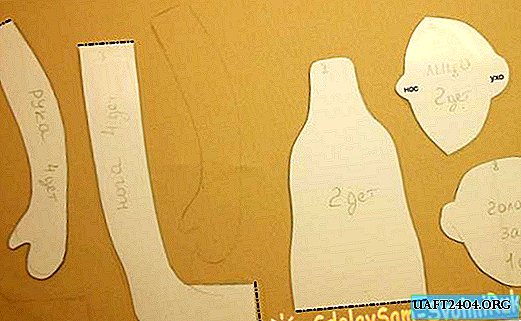
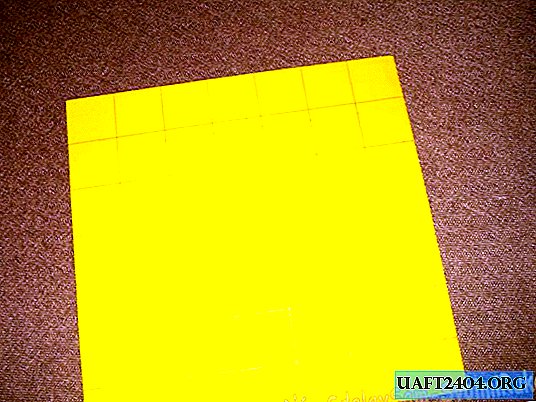
First you need to select a circuit and calculate the number of modules. Then cut the squares of different colors. To do this, take sheets of paper and draw them into cells measuring 3 cm x 3 cm.
In general, you need such a number of squares (everything is calculated according to the scheme):
- white 158 pcs.;
- blue 2 pcs.;
- purple 15 pcs.;
- yellow 48 pcs.;
- red 41 pcs.;
- green 16 pcs.

How to make the main module-box?
Take a paper blank 3 cm by 3 cm, fold in half and again in half.

Then we deploy the resulting part to its original position. Now bend each corner of the square to the center.

Turn the blank over with the wrong side facing you and again bend the corners of the small square in the middle.

The module is ready. In the same way, we form multi-colored squares. It will take a lot of time. For example, I spent three whole nights on the manufacture of all the necessary parts.

The scheme of work looks like this: a yellow cockerel with blue eyes, red legs, tail, wings, scallop and beak stands on green grass surrounded by purple clouds.

Next, we take a dense sheet of snow-white cardboard, a long ruler and a simple pencil.

Draw a grid with squares measuring 1.5 cm x 1.5 cm.

I started work from the center. You can start moving up or down, right or left. That is, as it is more convenient. It was convenient for me to make the longest central row.
Glue the beak, this will be the first reference point.

Then we glue every white square of the base with glue and apply the module of the desired shade.

Next, we consider according to the scheme the number of color blanks and select shades.

We move up and down, clearly following the schematic drawing.


The result is just such a cockerel.

We form grass and clouds.

Fill with white modules the entire remaining space of the base.

The painstaking work is completed, and now you can admire the original bird from the modules-squares.

And this is how the work looks after the glue dries!

Unusual and exciting. Despite the fact that it took a lot of time to make parts, I am pleased with the result. Now I have an original postcard - a cheerful Rooster, which I will present to my colleague on the eve of the New Year holidays.
Share
Pin
Tweet
Send
Share
Send