Share
Pin
Tweet
Send
Share
Send
It took us one week to make this toy.
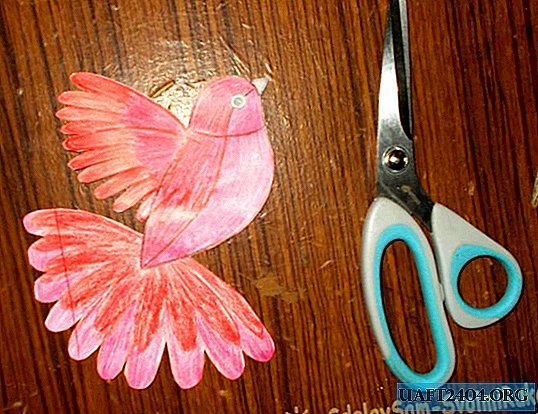
We start by making a paper sample of the future toy, which we need to cut:
We divide the old hat taken for work into four large parts. The black interior litter will not be used by us, so it can be removed:

Next, we cut the paper sample into four parts, two parts of the head and two parts of the body (upper and lower). And then, from another sheet of paper, we make up as many parts for the manufacture of the second side from these samples:

Now we are pinning our details to the fabric.
If the fabric is on fur, it is important that the fur on the finished toy is directed from head to tail. And each detail needs to be cut out of fabric with a small indent (allowance):

Next, the details of the body and head we need to sew in pairs, connecting the details of the sides:

After that, we take white plastic or cardboard and cut out the details of the beak and paws from it, after which we paint them with yellow nail polish:

When the varnish dries, we need to sew the details of the sides of the head and body. And inside, between the parts of the head, you need to put a plastic beak:


Now we need to turn out the stitched details from the inside and fill with cotton. Rhinestones can be glued to the head of the future toy, which will serve her eyes, and from the white fabric of the old hat, make an additional decoration for the neck of the toy bird:


We turn the torso of the future toy from the inside out:

We fill both parts inverted from the inside with cotton:

After that, from white plastic we cut out two parts of the wing and one detail of the tail:

For the wings, we need to cut four parts from the fabric for the upper sides:

We need to glue the resulting parts from the fabric to the wings using reliable glue:

After waiting for the glue to dry, we sew the resulting wings to the craft:


For the plastic part of the tail, we cut from the fabric a triangular part made in the shape of the upper part of the tail part (but slightly larger). We need to trim the upper part of the tail part:

Next, the part cut from the fabric must be glued to the white plastic part of the tail:

After the glue dries, the resulting tail will need to be sewn or glued to the craft from above from above so that the part converges with the size of the body:

Now we are left with the last action: coloring feathers on the wings and tail of a toy bird. For this work, you can use nail polish:

After painting, our toy can be considered finished:

It looks like a real toy bought in a store:


If desired, you can make new feathers for the tail of the toy by cutting them out of cardboard:

New feathers can be glued to the tail from the bottom and painted with varnish, and the old ones can be cut short:

After that, our toy will be ready.

Sincerely, Vorobyov Dinara.
Share
Pin
Tweet
Send
Share
Send

