Share
Pin
Tweet
Send
Share
Send
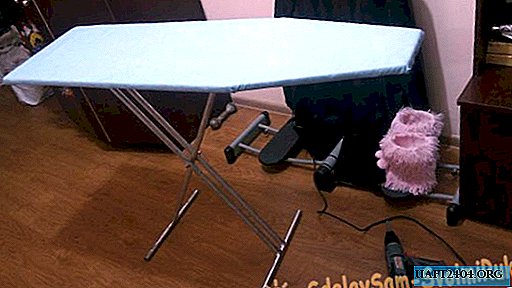
To begin with, we will look at how to make the plane of the board itself, on which you will iron things. For this, you can use chipboard. It is advisable to use chipboard, which has the properties of increased moisture resistance. Thus, the ironing board will last you much longer. Conventional particleboard will deteriorate from water, moisture, and moisture. You can draw the contours of the board with a pencil on a chipboard sheet. The standard sizes of ironing boards that you can buy are 122x30 cm. But you can use other sizes, for example, 130x35 cm. You may want to use smaller sizes to make the board lighter and more convenient for transportation.
Next, you need to cut the board with a jigsaw. Please note that one side has a right angle. On the other hand, you need to narrow the board a little. The end parts of the chipboard can be sanded a little to make them smoother.

After that, it is necessary to tighten the board with a cloth. You will need two types of fabric. Coarser and denser fabric is wrapped in the first layer. To do this, put the board on the fabric and cut the fabric with a margin of 3 - 5 cm. So that it can be tucked.

Then, using the construction stapler and staples, you can attach the fabric to the bottom of the board.

This fabric can be of any color, as it will not be visible. Then you use the second layer of fabric, on which the laundry will subsequently be ironed.

Here you already choose a color to your taste. In the same way, you need to cut a piece of fabric and secure it with a construction stapler from the bottom of the board. Fasten the fabric with a slight stretch so that it is comfortable for you to iron. The distance between the brackets can be about 3-5 cm.

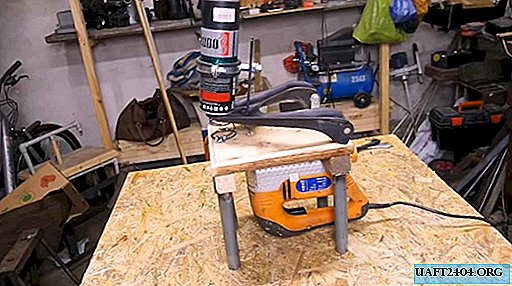
Then you can start making the legs of your ironing board. Of course, you can make wooden legs, but such a board will be less stable. It is much more practical to use metal legs. If you have a welding machine and you know how to cook, then it will not be difficult for you to make the design, which is shown in the illustration.


In extreme cases, these legs can be ordered from the welder. These two legs are connected with a bolt. Then they can be painted. For example, you can use gold or silver paint in a spray can. The height of the legs you select for your height.
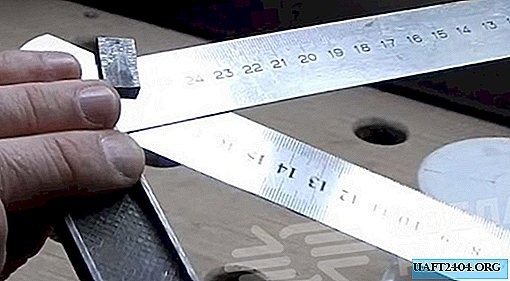
Then you need to attach the legs to the board. You fasten one letter "T" tightly to the board with screws using a rivet. Such a rivet can be made independently. To do this, you need to have a small piece of tin. With scissors for metal, cut out the plate, and bend it to the desired shape. What approximately detail you need, you can see in the illustration.

Before twisting the screws, you must first drill holes in the plate and in the chipboard. The drill should be thinner than the self-tapping screw that you will use. The length of the screws should not be more than the thickness of the chipboard.
The second letter "T", or the leg, you do not attach to the board, however, at the required distance from the bottom of the board, you fix the latch. To determine at what distance it needs to be fixed, the board needs to be laid out to determine the height that will be convenient for your growth, and, based on this, fix the clamps using self-tapping screws. If there are several people of different height in the family, then you can use several clamps designed for different heights.


As practice shows, this model of an ironing board will cost 2 - 3 times more expensive than if you made it yourself.
Share
Pin
Tweet
Send
Share
Send