Share
Pin
Tweet
Send
Share
Send
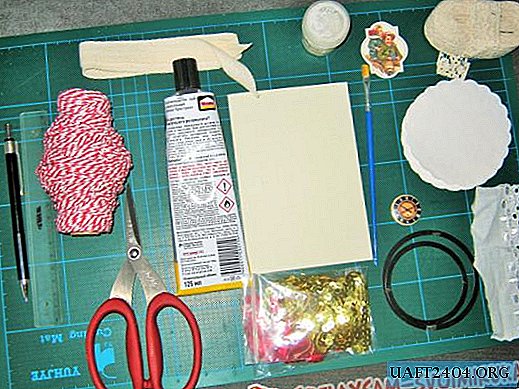
So, for the manufacture of two small notebooks, we need to take:
- Binding cardboard 4 pieces 10.5 * 14 cm in size, this is A6 format, as well as two binding strips 1.5 cm by 14 cm;
- White cardboard;
- Two ready-made tinted blocks A6 format (you can buy ready-made blocks or sew them yourself), you can also buy the most ordinary notebook and just remove the cover from it;
- Paper for scrapbooking with culinary motifs;
- Metal corners for bronze, take 8 pcs;
- The fabric is a mint-white cell, a red-white cell and two fabrics with kitchen elements, we will combine fabrics in notebooks;
- Synthetic winterizer;
- The lace is white cotton and red;
- Cooking pictures, cards and a set of culinary carvings with inscriptions and various kitchen utensils;
- Ribbons polka dots for bookmarks;
- Kitchen pendants;
- Brads are metal;
- Clips, simple pencil, ruler, double-sided tape, scissors, glue stick, water-based glue.
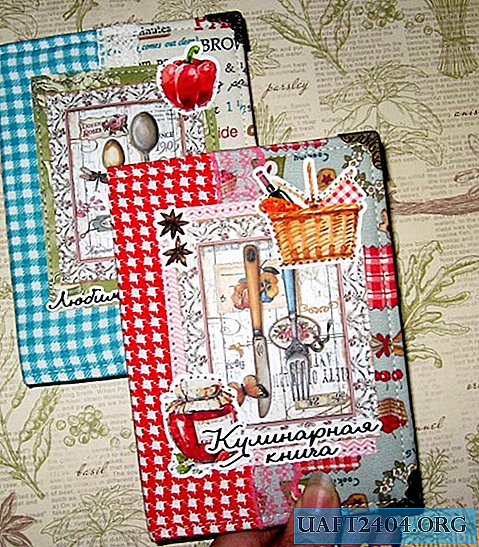

We lay out exactly two binding rectangles on the table, and between them a binding strip, now we measure two narrow stripes from cardboard and glue on both joints of the cover.


We glue and level. We carry out scissors at the places of bending of the strip so that the base closes well.


We add up and get these little books. Now we glue the synthetic winterizer on them with double-sided tape.


Now take the fabric. We combine and cut off the cuts, do not forget to make reserves for upside down. Cut off two strips of lace on each notebook.


All fabric cuts are ironed and sewn together. We sew lace at the joints. Now we wrap the binding blanks with a cloth. We smear the edges of the binding base with a glue stick, wrap the fabric and glue it. While laying aside.


Let's prepare the blocks. For our blocks, you need to make colored bookends from scrapbook paper. Cut two rectangles and fold each in half to the height and width of the block. Smear the edges near the root from top to bottom with glue stick, glue the flyleafs in front and behind the block. And now we cut off the strips of white paper, wrap it and glue it in such a way as to glue the top and bottom of the block along with the spine. Clamp the blocks with office clips and set aside.


We sew soft covers around the edges.


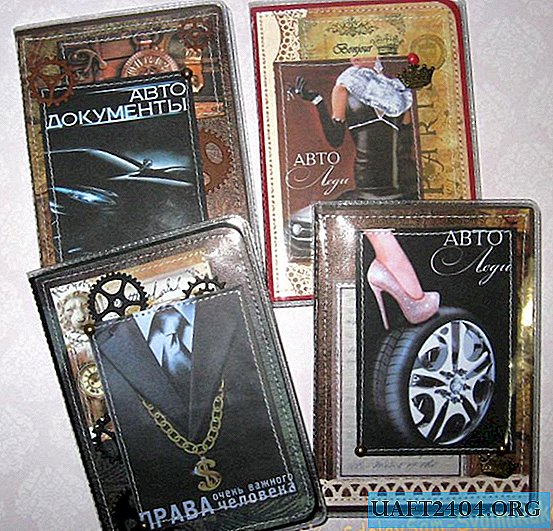
Now we try on the covers of pictures, cards and die cuts. We sew all the elements. Blocks with bookends are also ready.


Now we need to collect our notebooks, namely, paste the blocks into covers.


Glue the blocks. On the sides of the cover we glue the bookends of the block and done. Clamp with clamps, give time to dry. Then we put on metal corners and notebooks are ready. Thank you for your attention and good luck to everyone!


Share
Pin
Tweet
Send
Share
Send

