Share
Pin
Tweet
Send
Share
Send
Of course, this option is unlikely to be suitable as a source of main lighting. However, it also has a number of indisputable advantages:
- Bright glow;
- The long life of the LED is about 50,000 hours;
- Wide angle of illumination - 120o;
- Convenient metal holder that allows you to set the desired angle of lighting;
- Lack of heating of the case and protective glass;
- Minimum power consumption.
Modern LED lamps such as searchlights are lightweight, unpretentious to dust, shock and even waterproof. Their metal casing is reliably protected from corrosion by anodized or chrome plated. They are often used to illuminate buildings, architectural monuments, billboards. Well, in the household, such a thing is simply irreplaceable, and you will see this now.
Necessary Details
To make an autonomous LED lamp, we need:
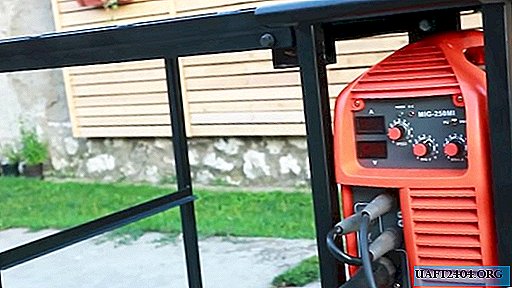
- LED spotlight on 12V, power 20W in an aluminum housing with a movable holder;
- Lithium-ion batteries, the size of one of the most popular and popular is 18650, the number is 24 pcs., Can be collected from old laptops;
- Stabilizer protection board with a rating of + 3S 11.1 V 25A 18650, for batteries;
- Plastic holder for battery pack;
- The adapter (charger) is 12v 2A., The output connector is 5.5 x 2.5mm.
Getting to work
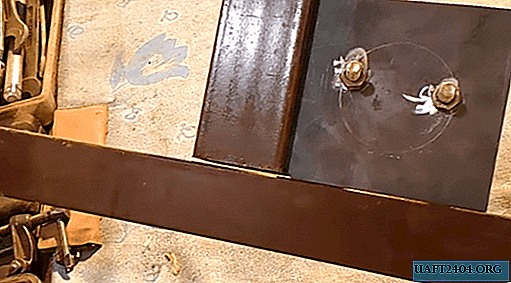
First of all, we combine our batteries in a separate block of 12 pcs. You should get 3 rows of 4 batteries. The extreme rows are set anodes (+) up, the middle row of cathodes (-) up. The batteries should fit in plastic holders and arrange such a unit.

Next, you need to take the metal bus and solder the contacts of the anodes and cathodes on both sides of the block. Resistance welding is ideal in this case, but solder with flux is also suitable for such work. On one side, the ends of the metal bus at the extreme rows must be left a few centimeters to work with the protective board, and the rest cut off.
Scheme of connection to the controller.


The middle row is also soldered according to the diagram depicted on the protective board. Having cut the bus contacts in size, we solder the protective stabilizer board in place.


The second block is done completely by analogy with the first.

To fix the electrical part of our device, we need a case from a non-working power supply unit of a stationary computer. We disassemble it, completely freeing from the filling.

We isolate our blocks with insulating tape, leaving the connection contacts exposed, and with the help of double adhesive tape we connect together, mounting them to the device case.

We mount a four-way switch in the case on the side of the power socket, on the reverse side there are mating connectors for the adapter, connecting the output ends of the protective boards and the connector pins with wires.

We connect the adapter to the connector and check the performance of our charger. One of the contacts, for example, we start the anode through the switch, the second is connected directly to the spotlight.

We mark the mounting of our spotlight on the power supply housing. The holes can be made with a drill and a drill of a suitable diameter by fixing the lamp to the bolts.

We check our device, and assemble the body together for bolts.

So, with minimal investment and from old spare parts lying in the pantry or on the balcony, you can assemble an excellent lamp that will help out in the absence of electricity in the country house, in a country house or even in your own apartment.
Watch the video lamp manufacturing instructions
Share
Pin
Tweet
Send
Share
Send