Share
Pin
Tweet
Send
Share
Send
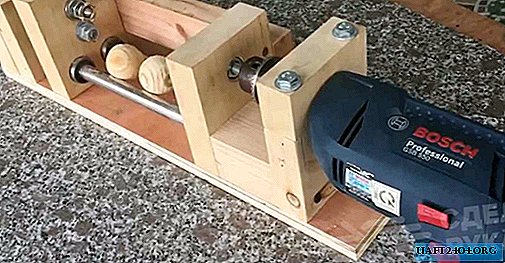
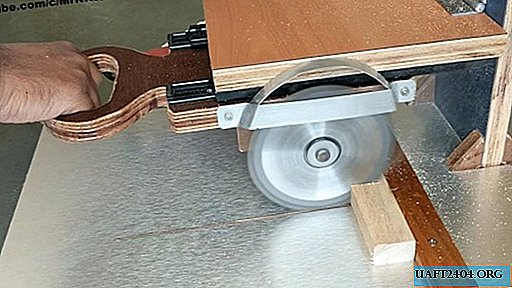
The advantage of this tool is accurate and safe cutting at right or given angles. The engine is most often located above the bed, and is mounted on a movable carriage with a handle. Depth of cut is set by limiters at the base, and by hand. A power tool of this kind has already been appreciated by many professional masters and novice lovers. We offer to do this for you too!
The advantage of homemade trimming
Today, a miter saw does not surprise anyone. A lot of modifications, from branded to cheap Chinese, with longitudinal and angular cuts are present on the market. However, their value sometimes surpasses, and the accuracy does not always correspond to the declared. Is it possible to do without buying a specialized tool, you ask.
Our installation proves that a miter saw with a longitudinal cut can be made at home. The cost of its assembly is minimal. In addition, the drill on the basis of which our trimming is made can also be used for its intended purpose.
Necessary materials and tools
Expendable materials:
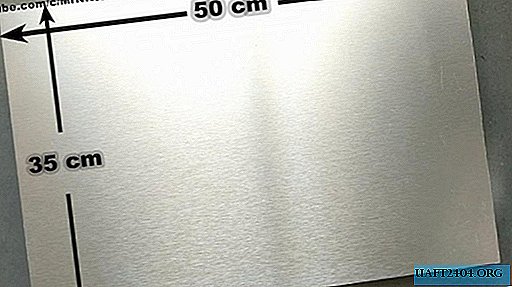
- For a bed: a sheet of plywood with a thickness of 14-20 mm, sheathed from one plane by galvanizing;
- Cutting disc with victorious soldering for longitudinal cutting, diameter - 125 mm;
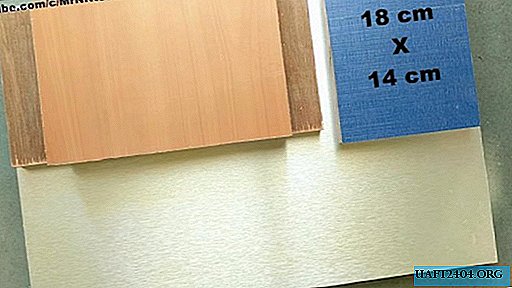
- Three pieces of plywood: 30x15 cm - for the handle, 24x15 cm - for the carriage, 18x14 - for the base stand;
- One-piece window loop -1 pc;
- Drill (without reverse);
- Two pairs of u-shaped split rails for furniture drawers;
- Hardware: bolts, nuts, screws;
- Cardboard for the template;
- Joiner glue, wood varnish.
Instruments:
- Drill or screwdriver;
- Jigsaw with a file on wood;
- Pliers, drills, nozzles for twisting screws;
- Paint knife, tape measure, pencil, brush for varnish and glue.


Getting to work
1. We fix a rack of the basis
We mark the position of the base stand on the bed, shifting it to the left side from the middle, and cut galvanizing under the chisel under it.

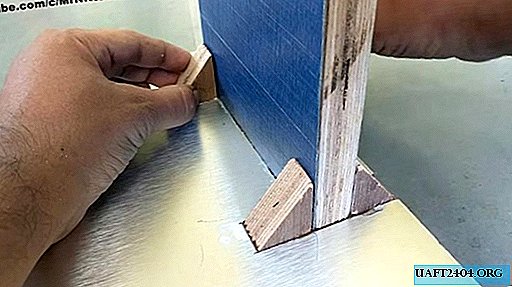
We take a piece of plywood 18x14, and fasten it vertically by 3 screws, after gluing the connection with the bed.


For more stability, you can put down several stops in the form of corners from the same plywood. We put them on glue on both sides of our rack.
2. We make the handle
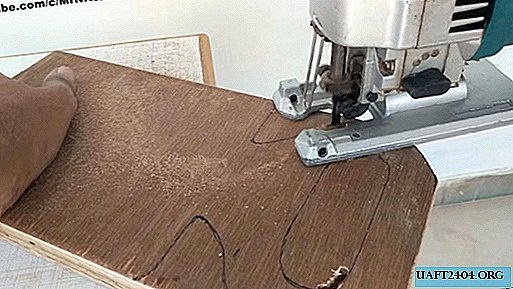
According to the template prepared in advance, mark the handle of our trimming. We use a piece of plywood 30x15cm.

Curved lines are conveniently sawn with a jigsaw. The closed loop must first be drilled with a drill of 8-9 mm under the width of the jigsaw file.
After sawing, we process the plywood edge with a rasp or sandpaper, and make the handle streamlined and without burrs.

3. Connect the handle to the carriage
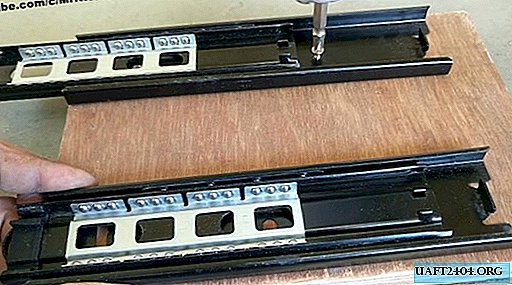
For this we need furniture rails.

We fix one of their parts on the sides of the handle, the second - on the carriage.

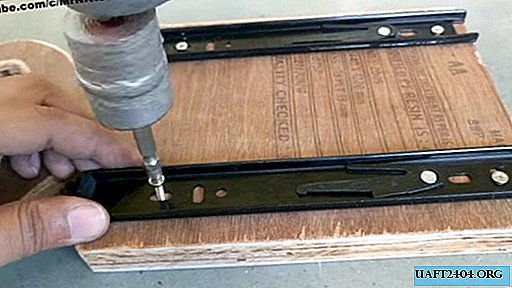
Both pairs of guides should coincide so that the bed and the handle are practically in the same plane, and provide free movement of the handle without any jamming.

4. Fasten the drill
From the back of the carriage we fasten the drill holder to the screws. It can be made from a small piece of plywood by making a sufficient hole for the cartridge.
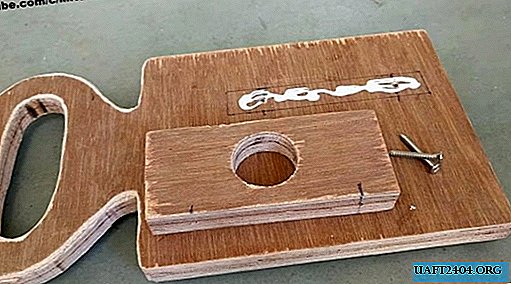
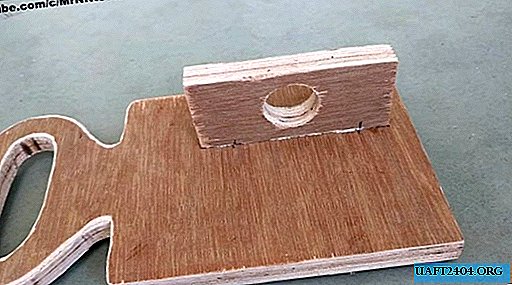
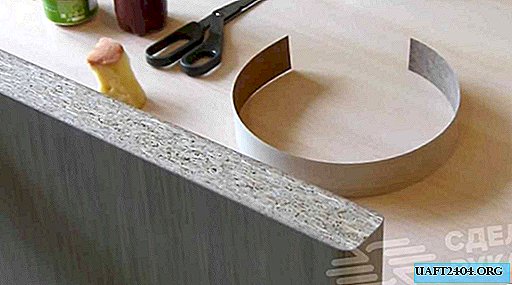
We press the drill with a cuff from a galvanized plate, pulling it on the screws to the handle.


5. Install the carriage
For a more convenient location of the workpieces on the bed and cutting them, it is necessary that our carriage has a vertical stroke. This condition will provide us with a window loop.

We fasten it with screws on the edge of the carriage and to the base so that the movable part can rise and fall to the position of a right angle. In this case, the carriage will act as a stopper, and will not allow the cutting disc to fall below a predetermined level.


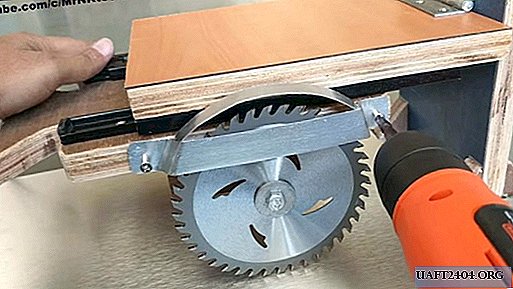
6. The final stage of work - we put the cutting disc, protective cover and restrictive bar
Using an M8 bolt, 50-60 mm long, we make a shaft for our trimming. For a disc, it is best to choose the washers wider, because the landing hole for cutting discs of this diameter can be 15-20 mm.
We tighten the lock nut on our shaft with a lock nut, and clamp it in the drill chuck with a key.


The protective cover is located above the cutting disc, and also fastened to the screws. It should be made of a plate more than 1 mm thick.
We make a trial run of our miter saw and check its longitudinal stroke. The cutting disc should go into the bed literally a few millimeters.
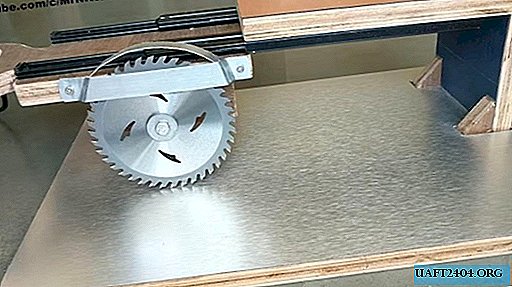

We roll the furrow with the cutting disc to the limit. At the very edge of the cut mark, we set perpendicularly the bounding bar of plywood or wood.

For ease of use, the handle can be varnished with ordinary quick-drying varnish.

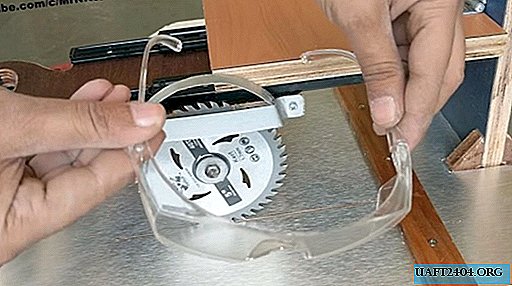
Work on machines of this kind must be carried out in plastic glasses. This will protect your eyes from dust, chips and even hot corundum.
We carry out tests with narrow and wide details. If you wish, you can try replacing the cutting blade on wood with a cutting one for metal, and try to cut some small metal rolling, for example, a plate or pipe.


As you have already seen, the necessary equipment can even be made from improvised inexpensive items. In a small workshop, it will be able to help out at the right time, and in field conditions it will become a real help to a true master of his craft.
Watch the video of making a saw
Share
Pin
Tweet
Send
Share
Send