Share
Pin
Tweet
Send
Share
Send
And how can one not remember about cleaning, because this event sometimes crosses out all creative impulses. Restoring order, cleanliness around yourself and in the world around us is very important, but not always pleasant. But there is a way, and we will show you today.
Remove foliage from the tracks, garbage from the site or other unnecessary things - you can do anything with it! And most importantly, with such a device, any cleaning will turn into a pleasant, and certainly not boring pastime.
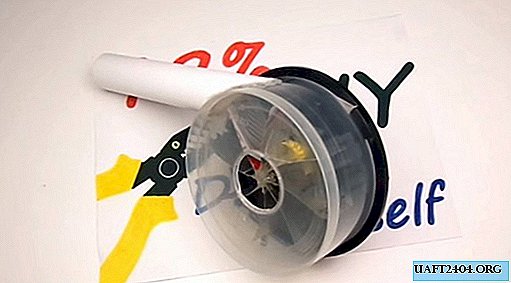
Tool Materials
- Box for compact discs CD / DVD;
- DC motor at 12 V, 6000 rpm;
- Button switch;
- 5.5 mm connector for power supply;
- Empty metal bottle from deodorant;
- Liter plastic bottle (PET);
- Plastic bottle cap;
- A piece of PVC pipe 25 mm;
- Hot glue gun, soldering iron;
- A paint knife, scissors, a marker, a ruler and a small hacksaw for metal.
Getting started with the blower
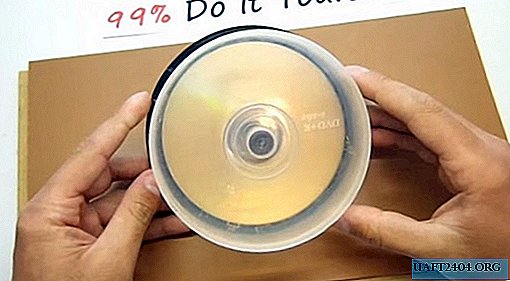
To start, prepare an empty box of disks. She needs to dismantle the cylindrical axis. We cut it with the heated blade of a paint knife, and break it by hand.


We take a DC motor for 12 V, and connect to it a button-switch with a connector for the power supply as shown in the photo.
We fix the engine from the back of the platform for disks to hot glue. We carefully glue the body around the entire circumference.


The next step will be the opening of a liter plastic bottle (PET). We measure 6 cm from the bottom of the bottle, and cut a small cap with a paint knife. We don’t need the rest of the bottle.

Next, we make a few holes from the bottom in this cap. They are needed for the switch and charging socket. On hot glue, we fix the button-switch and the connector for the power supply from the inside of the cap.


We apply hot glue to the outer edge of the cap, and glue it to the back of the disk platform.


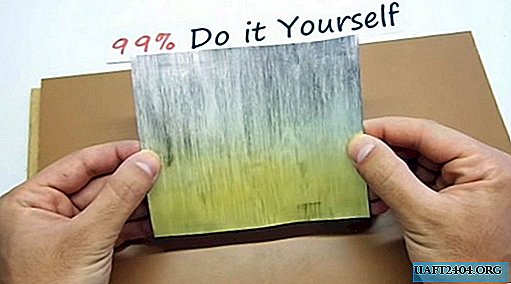
From an empty metal bottle from under the deodorant we will prepare the impeller blades. We cut off the bottom and neck of the bottle with a hacksaw, and we cut the body along with ordinary scissors.


We level the resulting piece of tin manually, and proceed to the marking. With a marker and a ruler, we draw a sheet into eight rectangles with dimensions of 30x55 mm. Cut them with scissors, biting off the corners from one side of each blade.


As a hub we use a cover from a plastic bottle. We divide it into eight identical parts with four diagonals. We lower extreme marking points on edges.


We make a small hole in the center of the hub cap under the motor shaft. We cut the ribs according to the marking with a hacksaw or knife.


We assemble the impeller by inserting the blades into the slots of the cover, and put them on hot glue. We glue the impeller center additionally, and then give the blades a slight tilt, bending them manually. This is necessary in order to provide a larger air output.


We make the outlet duct from a 25 mm piece of plastic pipe. The circumference of the cover of the disc box will serve as a template for the duct.
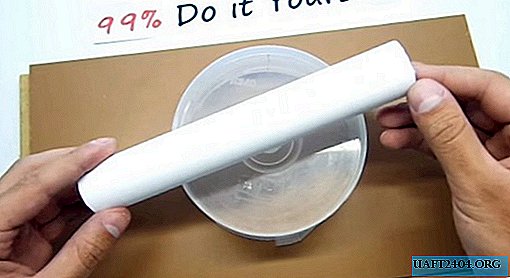

Mark it with a marker, and cut it with a hacksaw for metal. We trim the connection with a paint knife.


Mark the landing hole for the duct on the body of the plastic cover. With a paint knife we make a slot in the lid under the pipe. Duct connection is glued securely with hot glue.


We cut the air intake hole in the center of the plastic disc cover.

We fix the impeller with the hub on the motor shaft with hot glue, and cover it with a plastic cover with an air duct, jamming the shutter of the box for disks.


We connect the blower to the 12 V power supply, and check its operability. Everything is working properly, and now you can safely start cleaning!


Share
Pin
Tweet
Send
Share
Send

