Share
Pin
Tweet
Send
Share
Send
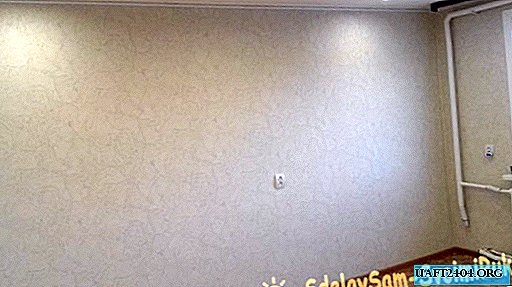
For those who want to save money, there is a great option - make a ceiling with your own hands. At first glance, this seems like an impossible task; in fact, everything is easy and simple, you just need to try.
We will need:
- - guide profile;
- - ceiling profile;
- - dowels;
- - screws;
- - single-level connector;
- - direct suspension;
- - sheets of drywall;
- - roulette;
- - level;
- - paint cord;
- - a pencil;
- - a hacksaw;
- - punch;
- - scissors;
- - screwdriver;
- - ceiling lights.
We mount a plasterboard ceiling
Before proceeding with the procurement of material, it is necessary to calculate everything, after making measurements.
Next, we proceed to the preparation of the premises. All furniture must be removed from the room or covered with foil. It is recommended that the ceiling be cleaned of dust and old coatings.
Ceiling marking
The next step will be the marking of the ceiling, the whole outcome of your work will depend on it.
To correctly determine the ceiling level, first make marks on the walls. Using a level, apply strokes to the walls at the required height. Then, using the masking cord, connect the strokes in one line. Next, use a tape measure to measure the distance from the marked line to the base surface, thereby determining the lowest point of the ceiling. Do not forget about the future lighting of the room, for this, take care of the fixtures and connectors for them in advance.
We mount the frame
We mount the guide profile around the perimeter of the room so that the drawn horizontal line coincides with the lower end. Next, measure the desired length of the profile, cut it using special scissors for metal. We fix using dowels.
We draw lines on the ceiling parallel to the window opening, measuring a distance of 40 centimeters. We install suspensions. We place the fasteners for the profile on the first line at a distance of 25 centimeters, subsequent at a distance of 50 centimeters. At the joints of the guide profile with the ceiling, we screw in the screws.


Sheathed frame
Attaching sheets of drywall to the profile is quite easy. When the drywall is attached, it is necessary to cut holes for the fixtures.


Surface finish
A day after the end of work, you can begin to finish the surface of the ceiling. For this purpose, you can use a primer. After you carefully cover her ceiling, you will need to seal all joints with putty. Seams are recommended to be strengthened with reinforcing tape.


Then we screw in the lights and the ceiling is ready!
Share
Pin
Tweet
Send
Share
Send


