Share
Pin
Tweet
Send
Share
Send
Can I repair the bumper myself?
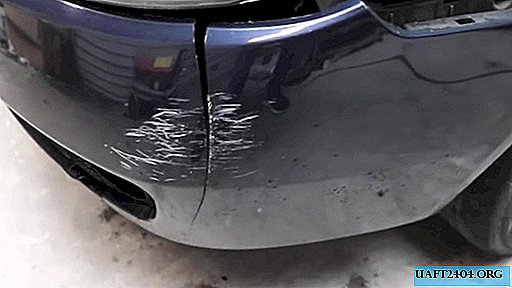
Yes, because everything you need for this can be bought cheaply or even found for free! At the same time, it must be understood that the minimum skills for using keys and tools are necessary in order to independently repair and paint.
Necessary tools and materials:
- Sandpaper.
- Two-component epoxy resin.
- Reinforcing fabric.
- Paper tape.
- Metal plates.
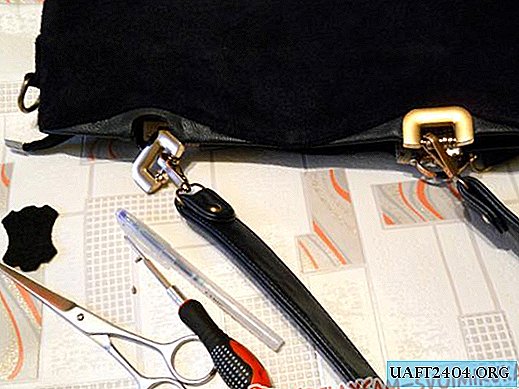
- Pliers or nippers.
- Stationery knife.
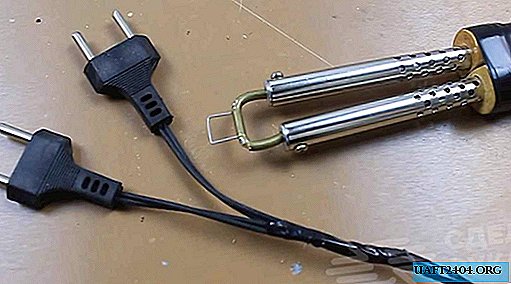
- Electric soldering iron.
- Putty automobile.
- Spray can with primer.
- Compressor with spray gun.
- Paint and preferably varnish.
Something from this list may be in the house, but the primer, paint, putty and epoxy should most likely be bought. You can do this at any auto parts store. Despite the fact that you have to pay a certain amount, the repair will still be an order of magnitude cheaper than in a car service.
Step-by-step instructions for repairing cracks in the bumper:
Remove the bumper from the vehicle. To do this, you will need a minimal set of tools, as well as a room for work - it is best if it is a garage.

On the reverse side of the bumper, use a sandpaper to clean the strip 5-10 cm wide along the entire crack.

We fix the bumper with a clip so that the crack coalesces as much as possible without gaps.

Across the crack every 3-5 cm. Make grooves with a soldering iron. Clean grooves with a clerical knife.
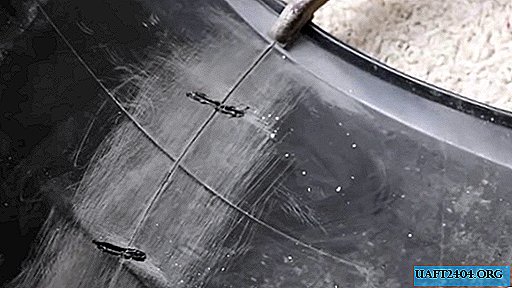
In these grooves lay pieces of metal strips that can be made from ordinary staples that hold the container together. Just cut a piece of the desired length with the help of wire cutters.


Press the brackets with a heated soldering iron so that they, having melted the plastic of the bumper, dig into about half the thickness of the material.


Next, you need to mix the two-component epoxy resin and apply it evenly over the entire strip of the seam 5-10 cm wide.


Glue reinforcing fabric onto this strip, which is best used fiberglass.
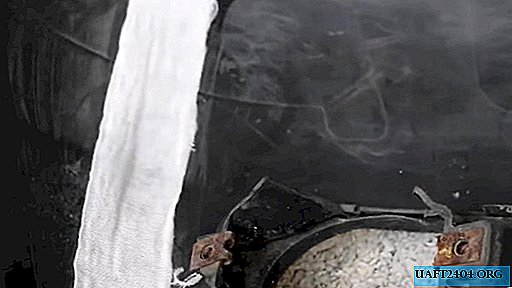
On top of the fabric, apply and level the epoxy layer again.

Touch up the repair area from the inside for aesthetics.

To start work on the front side, it is necessary to temporarily install the bumper in place, so that when filling it is possible to maintain the correct bend shape.


Having cleaned the repair site from paint with sandpaper, we proceed to puttying.

After the putty is dried, we sand it with fine sandpaper, with a grain size of at least 800.

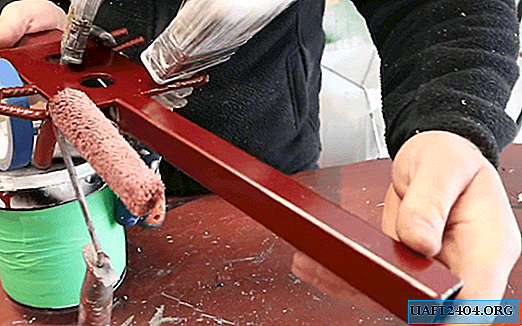
Next, the surface is primed.

Having removed the bumper and glued with paper tape the places that need to be protected from paint, we paint the bumper with an airbrush.

At the end of the work, it is advisable to spray the varnish on top of the paint.
Replace the dried bumper and secure it.

Features of self-repair bumper
Do-it-yourself bumper repair requires various tools and materials, as well as working skills with them. It follows from this that not every person can independently make such a repair.
However, there are many lovers who have garages equipped for the simplest car repairs. Therefore, this sequence of work can be used in the repair of small cracks in the bumper of a car. Naturally, safety precautions must be observed, since the resin, primer and paint are toxic, and the soldering iron works under high voltage and heats up to 300 degrees, which is fraught with burns.
The disadvantage of such a repair may be the wrong selection of enamel, as a result of which there will be a noticeable difference in color. But the savings on repairs will be significant, and therefore it is worth taking and repairing a bumper crack with your own hands!
Watch a video
Share
Pin
Tweet
Send
Share
Send