Share
Pin
Tweet
Send
Share
Send
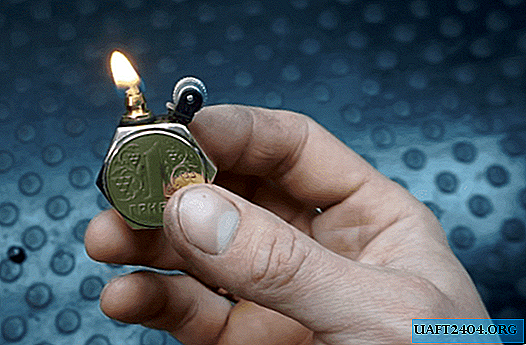
Stone and roofing works, installation of glazing beads on windows and even straightening of car cladding parts proceeds faster and better if you use a hammer with an elastic head.
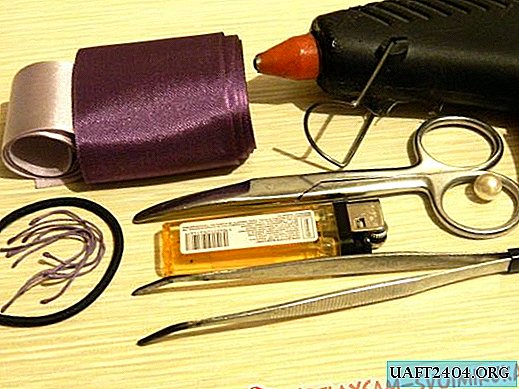
Tools required for work
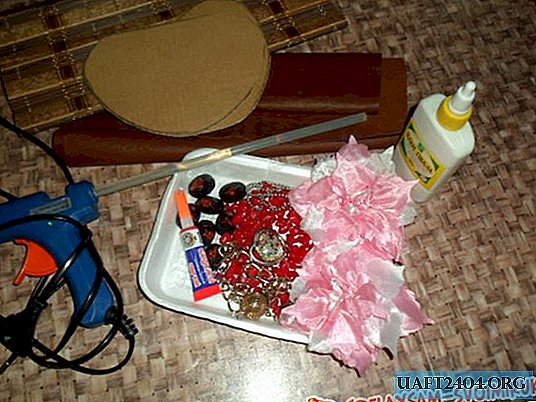
We will need a variety of tools, but in small quantities, which cost almost nothing or are available in almost every home.

Materials:
- thermoplastic adhesive rods with a diameter of 11 mm and a length of 300 mm - 4 pcs .;
- pure water - 200 ml;
- steel or wooden rod with thread at one end;
- glass container of the required volume;
- laundry soap;
- plastic bags - 2 pcs.
Instruments:
- a gun with sticks of hot glue;
- homemade vise made of wood;
- 10 mm drill;
- a knife or other suitable cutting tool;
- glass cup;
- hammer;
- drill.
Also, in the process, we may need the functions of a microwave oven and a domestic refrigerator. And since you have to deal with heated substances, it is necessary to use protective gloves and glasses, and provide for ventilation of the working area.
Making a hammer from thermoplastic glue
1. Heat the microwave in a glass cup to 100 degrees Celsius.


Pour boiling water from an electric kettle and carefully immerse a glass container in it so that it does not crack.

At the next stage, pour molten glue into it, which will slowly cool with the water in the cup.


2. Using a gun, fill the container with molten thermal glue, making sure that water from the cup does not get into the bottle with glue as it is filled and immersed in water.
3. Let the glue in the bottle, immersed in a cup of water, cool in the open air for 1 hour. After this time, the system will still remain warm. Now we put the glue in the bottle in the refrigerator and leave it there until it cools completely and, accordingly, the glue hardens.

4. When the glue in the bottle has completely hardened, take it out of the refrigerator, wrap it in plastic bags and carefully break the bottle, for example, throwing it on a tiled floor.


5. When at least one crack appears on the bottle, its further destruction can be continued by careful and precise hammer blows.


6. After removing all visible glass fragments, the hardened glue surface is washed several times with soapy water and rinsing, removing dirt and small invisible glass particles. Then wipe dry the volume formed by the hardened thermoplastic adhesive.

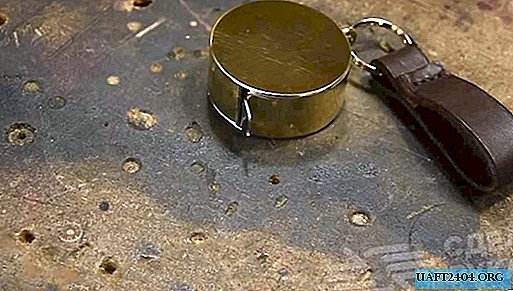
7. Cut off with the help of a knife, saw or string from the main array of hardened glue the part formed by the neck of the bottle. For the formation of a mallet head, one should not mix different types (colors) of thermoplastic rods.

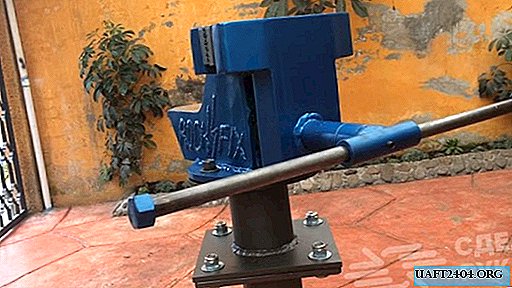
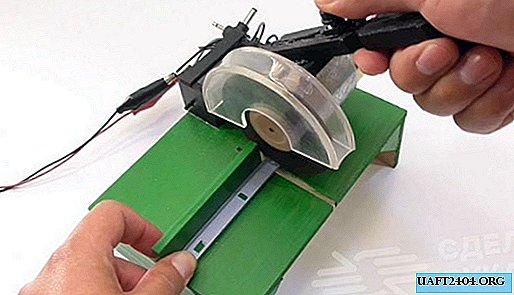
8. We clamp the hardened and completely cleaned form into a home-made wooden vise and, using a drill fixed in a drill or drilling machine, make a hole in its center, the depth of which is 75% of the diameter of the head of the glue hammer.


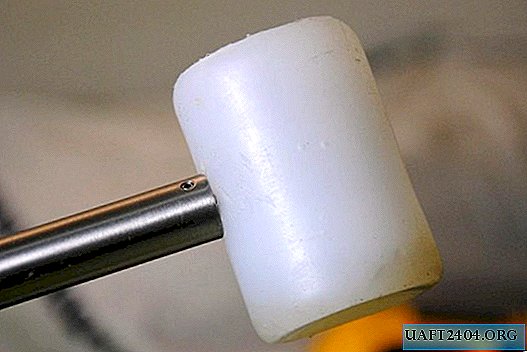
We screw into it a steel or wooden rod with a thread on the end that serves as a handle.

Our glue hammer is ready to work and its working properties are not inferior to a hammer with a rubber head or a wooden mallet.
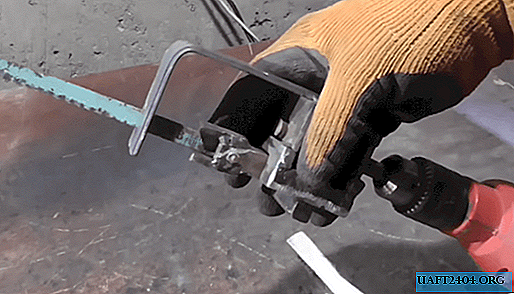
When performing carpentry, a rubber or wooden mallet is often used together with other common tools. So, using a rubber or wooden striker, you can extend the safety and performance of tools such as chisels or chisels.
A rubber mallet or a wooden mallet can be purchased at the store, spending a certain amount of money (from 250 rubles). But there is an opportunity to make this tool from thermoplastic glue, possessing elementary skills in handling hot water, hot glue and simple tools and equipment.
Original article in English
Share
Pin
Tweet
Send
Share
Send