Share
Pin
Tweet
Send
Share
Send
Will need
For work, we will use quite affordable and inexpensive materials and products:
- silicone "ELASTOLUX-M" for the manufacture of molds;
- silicone "ELASTOFORM" for the manufacture of the substrate;
- kerosene or petroleum jelly separator;
- oppression for a form with a total weight of 1 kg;
- injection polyurethane "UNICAST 9" (base, part A);
- hardener (part B);
- precision scales;
- plastic glass.
Technology for casting polyurethane products into silicone molds
First of all, it is necessary to print a master model with a gating system on a 3D printer. Or take the finished part, which must be repeated, stick the toothpicks in the role of sprues. It will be needed for the manufacture of reusable silicone molds.
For her we use silicone, characterized by high elasticity and sufficient strength. For a base substrate with a thickness of 10-15 mm, a less expensive two-component silicone of the ELASTOFORM type is suitable.


Made silicone mold.


How is the casting process
We put the silicone mold on the substrate. If it will be used repeatedly, then it is periodically lubricated with a separator based on kerosene or petroleum jelly.

Press the silicone mold on top with a dispersed load (oppression) weighing up to one kilogram. To fill the injection material proceeded neatly and quickly, we perform a paper funnel. After which, we can assume that the mold is prepared for casting.

For pouring, we take the cheapest UNICAST 9 injection polyurethane (part A) and hardener (part B), which we mix in a ratio of 1: 0.6.


For high-quality mixing, precision scales and a plastic cup are needed. You can add dye of any color, which is sold separately, to the basis. For 1 kg of polyurethane, 90-100 drops of dye are needed.


Pour 22 grams of liquid polyurethane and 13.2 grams of hardener into the cup on the scales and mix thoroughly for 30 seconds, no more, since it will already begin to harden. With stirring, we will feel that the glass heats up, which means the polymerization process has begun. The mixture is ready to fill.
Fill the mix without interruption until liquid polyurethane flows from the sprues. The initial hardening will take about two minutes, and full - 10-15 minutes, but it is better to hold the fill in the form of 20-30 minutes.

After half an hour, we begin to remove the polyurethane casting from the silicone mold.


First we break off the paper funnel with the excess polyurethane frozen in it, then the excess coming out of the sprues, together with the “legs”. This will make it easier for us to remove the molded product from the mold.

In addition, the silicone mold is highly flexible, which also contributes to the ease of extraction of the casting from it without any difficulty.


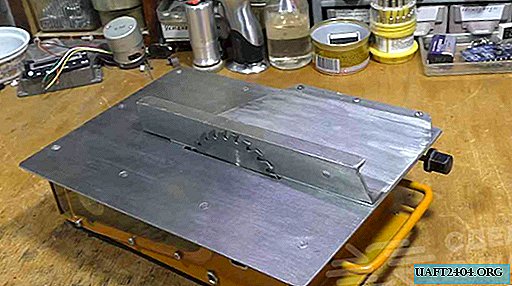
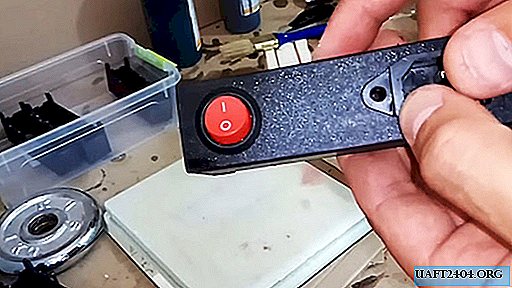
It remains to slightly process the holes, break off or cut the sprues and drill holes with a drill. After that, the molded product practically does not differ from the master form.

Comparison of casting and 3D printing
Injection compared to 3D printing is a quick process. To print such a box on a 3D printer, it will take 4.0-4.5 hours. In this case, the 3D model often turns out to be defective and everything must be started all over again. The casting process takes a maximum of 30 minutes. The next point is cheapness. Casting is more than 3 times cheaper than 3D printing.
Share
Pin
Tweet
Send
Share
Send