Share
Pin
Tweet
Send
Share
Send
We will need:
• 3 different sheets of colored paper (you can take golden shades);
• scissors;
• ordinary sewing thread;
• a simple pencil (wax or slate);
• ruler;
• 1 sheet of foil;
• stationery glue (it is very convenient to use glue stick).
Instruction manual
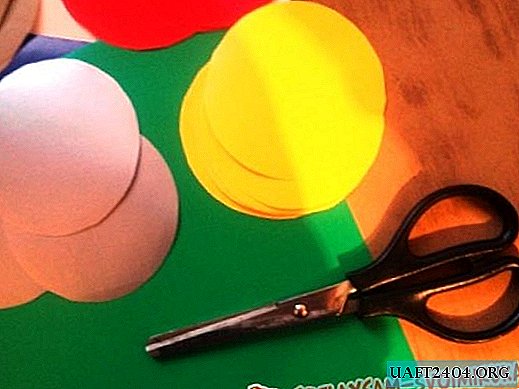
1. On the back of each sheet of colored paper, four circles of the same diameter are drawn. Details are carefully cut out. In total, you should get twelve identical in size circles.
2. Paper elements are divided into five equal segments, and then draw regular pentagons.
3. Gently bend to the outside of the edges of each circle. The bent sections are greased with glue and fasten the parts to each other. When assembling the ball, it is necessary to observe the alternation of colors.
4. At the end of gluing the parts, a thread is threaded into one of the holes, a loop is formed and it is firmly strengthened.
5. Twelve stars of various sizes are drawn on the foil sheet. A star is glued to each side of the magic ball.


As a result of simple manipulations, an original, beautiful toy is obtained. The product is placed under the ceiling, mounted on a chandelier or windows. The ball looks great in combination with golden Christmas ribbons. Such decorative crafts decorate halls for children's matinees. By experimenting with color, materials and textures, you can create amazing home decoration.


The undoubted advantage of the product is its simplicity and profitability. Even a child can learn the rules for creating paper balls.
Share
Pin
Tweet
Send
Share
Send

