When performing various carpentry work, a marking tool is often used in the home workshop. It allows you to make markings on wooden workpieces as accurately and accurately as possible.

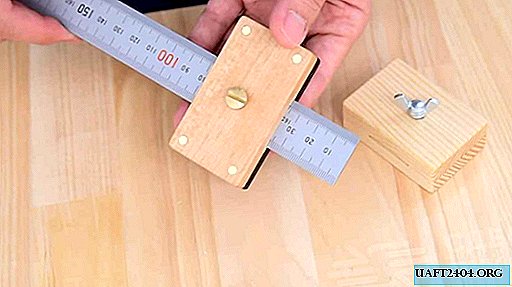
A simple and easy to use marking tool for carpentry can be done with your own hands. To do this, you will need a metal ruler. Also, for the manufacture of homemade products, wood parts (or plywood) and fasteners are required.
First of all, it is necessary to saw off two identical workpieces from a wooden bar, from which a marking tool will be made. In each part, a groove must be selected (in one workpiece there should be a narrow groove, in the other a little wider).

Step-by-step process for making a marking tool
At the next stage, in one of the parts (in which a narrow groove is selected), you need to drill a hole in the center. Then the master inserts a piece of a thin metal plate into the groove, fixing it with glue.

Next, it is necessary to screw a threaded sleeve under the wing bolt into the drilled hole - it will press on the plate, which, in turn, will press the ruler. Then two wooden parts are glued together.

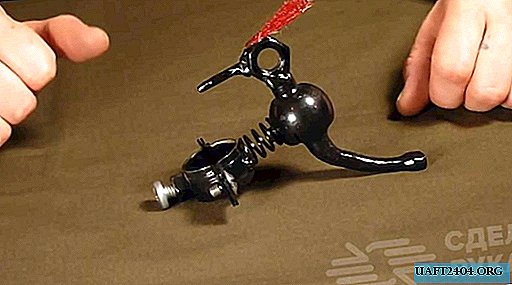
At the last stage, you will need to process the “box” with sandpaper and soak with wax or mineral oil. Then the master proceeds to the assembly - inserts the ruler and fixes it with a wing bolt.

For details on how to make a marking tool for carpentry with your own hands, see the video on the site.