Share
Pin
Tweet
Send
Share
Send
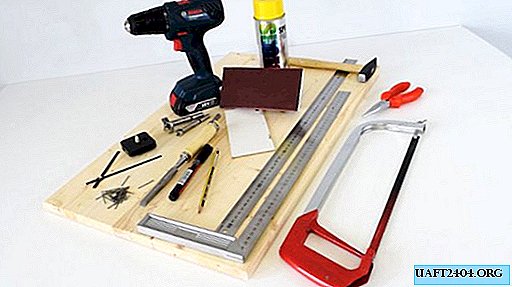
- Paper.
- Cardboard.
- A pencil.
- Scissors.
- Threads.
- File.
- Glue.
- Woolen threads of gray and red.
- Packing from under tablets (blister).
- Vata.
- Blue sequins or beads (2 pieces).
- A small flap of red cloth.
- Bead.
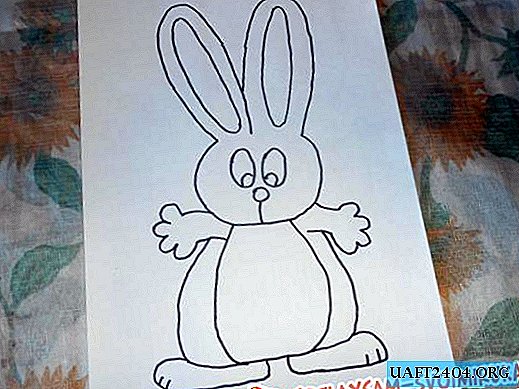
To get started, I printed a drawing of a bunny and transferred this drawing to thick cardboard. At the same time, I did not draw extra lines. It is better to take cardboard very thick (cardboard packaging is possible).

Then I cut a hare out of cardboard. I also cut out a place for a photo.


Now again, take a sheet of cardboard, apply a stencil of our hare on it and circle the lower part to the head. Cut out. This will be the back of the frame. Here is what should happen.

Put this detail aside. Take the file. We also place a hare on it and circle the stomach from the outside. Then we cut out this pattern. It will be a protective film for photography, instead of glass. Then we glue it.

Glue the back cover on the sides and bottom. There is no need to stick on top. We should get a kind of pocket under the photo.

Cut off a strip of cardboard with a width of 4 centimeters, a length of 15 centimeters. From one end, we retreat 1 centimeter and lightly draw along this line with scissors so that the strip bends well. This will be the stand for the frame. Glue it to the head. In the future, when you need to insert a photo inside the frame, we just raise the stand up.


The frame is ready. Now let's do the decor. Take gray wool threads and glue. We will glue the muzzle of the hare and, starting from the center, glue the thread in coils in a circle.


In the same way we do with the ears, only you need to start gluing not from the center, but from the edges. First, make the desired oval, and then put the thread in turns to the center.

We will again need gray threads. We clamp the end of the thread between the index and middle fingers, make a couple of turns of thread around the finger, cut off the end. You should get a loop. We smear the end of the loop with glue and press it to the bunny.


So we glue the whole rabbit, except for those places where we have already glued the threads.


In order to make the frame beautiful from all sides, I glued it with threads on the back.


Now let's make a face. Take cotton wool, tear off a piece of it. We will make cheeks out of it and glue them on the face.


From red threads we will make a nose. Cut the thread, twist it into a small ball and glue it between the cheeks.

From the packaging of pills, white paper and blue sequins, we will make eyes. We cut two cells from the blister, rounding the edges. Inside each cell we put a sequin and glue it all on white paper. When it dries, cut off the excess and glue the eyes on the muzzle.

We make a mouth like a nose. We decorate the ears with cotton.

We will make a bow out of a piece of red cloth. To do this, cut a rectangle with sides 2x5 centimeters. In the middle, we tighten the rectangle with a thread, sew a bead and fasten the finished bow to the bunny’s ear.


That's all, our frame is ready, it remains only to insert a photo.

I hope you enjoyed the photo frame. Goodbye.
Share
Pin
Tweet
Send
Share
Send