Share
Pin
Tweet
Send
Share
Send
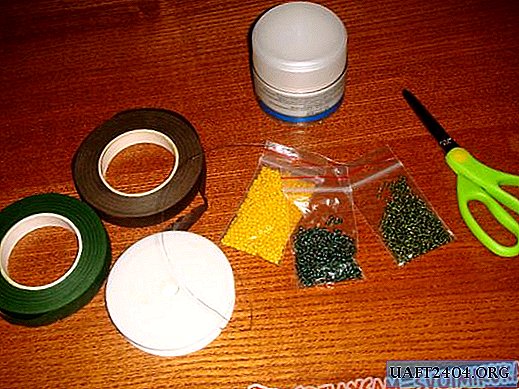
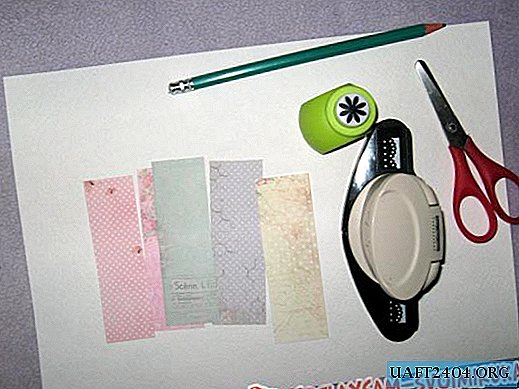
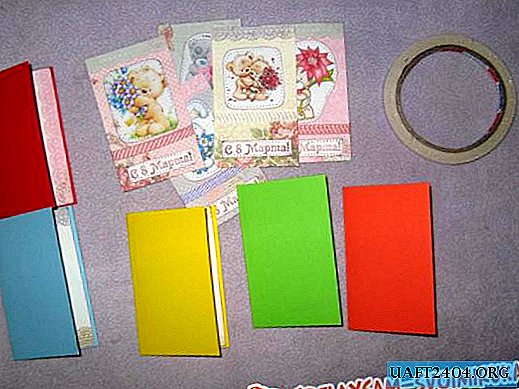
To do this, we will need to take:
• Bright colors of thick cardboard: red, blue, yellow, orange and red;
• Scrapbooking paper in the same color scheme;
• Pictures of cute animals with flowers: bears, bunnies, etc .;
• Watercolor paper;
• Narrow rep ribbons of pink, beige, green and purple;
• Paper hydrangea flowers;
• Polymer roses, daisies;
• Cut down flowers;
• Acrylic stamp "From March 8";
• Dark pink ink;
• Semi-pearls in pastel colors;
• Curly acrylic stamps; bear with flowers, flowers, corners;
• Pink and white stamens, simple nacreous and in sugar;
• Curb hole punch;
• glue gun;
• Scissors, ruler, pencil;
• Double-sided tape;
• Sewing machine.

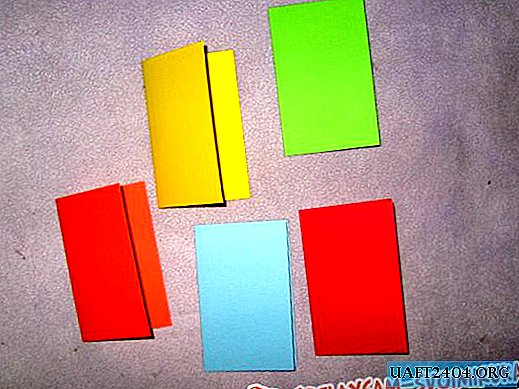
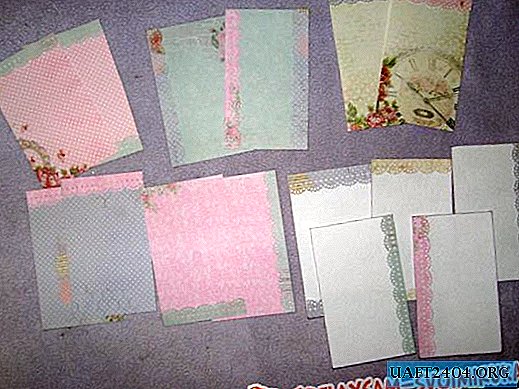
First of all, we need to prepare the basics of postcards from cardboard. We take cardboard and cut out five rectangles 10.5 * 13 cm.


We divide each in half, draw bending lines and get the basics of 6.5 * 10.5 cm.
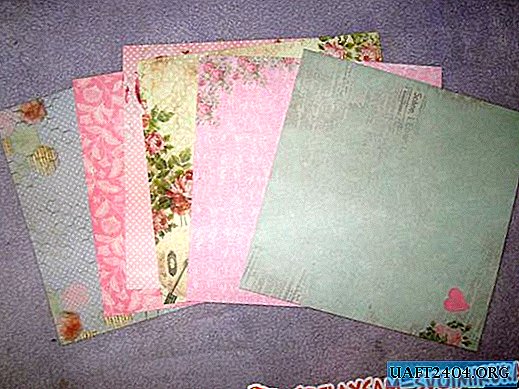
Now we cut out two rectangles 6 * 10 cm from scrapbook paper from scrapbook paper for each workpiece to the tone of the base. Accordingly, we try on the basics.
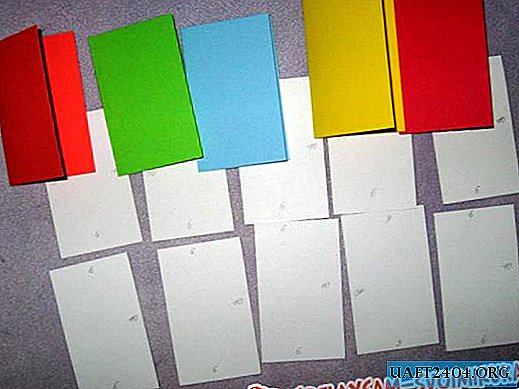
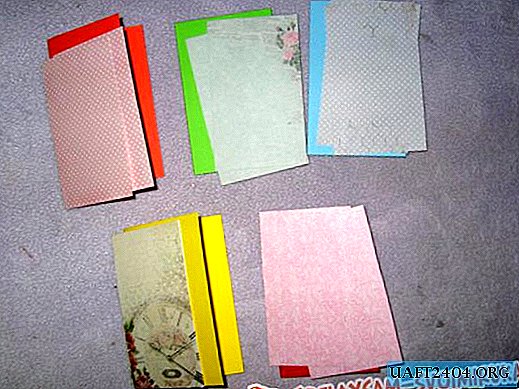
From watercolor paper and the remains of scrapbook paper, we draw rectangles for the internal lettering of the postcard, we also get five rectangles 6 * 10 cm. We decorate with delicate stripes and some outer postcard rectangles.
We cut out the pictures round and tint the edges with an ink pad. We cut out strips of 8 cm from rep ribbons. On watercolor paper we do the stamping of the inscription “March 8”.

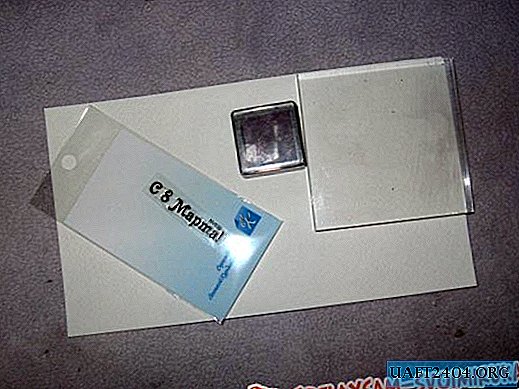
We cut out 5 inscriptions and also make the edges tinted. Glue pictures, ribbons and inscriptions with double-sided tape to each rectangle. Sew on the typewriter the entire decor.
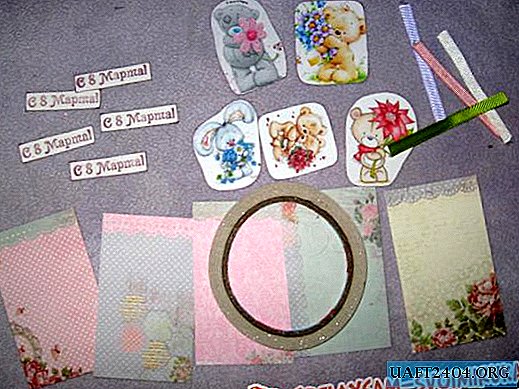

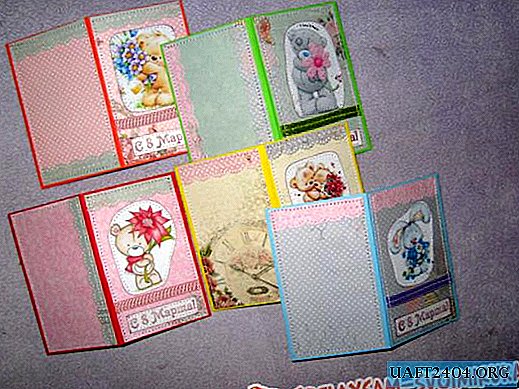
Inside we glue the base for inscriptions, and also outside the base we glue scrapbook rectangles.

Sew to the base. Now we make decorations inside and on the front of the card with curly stamps.

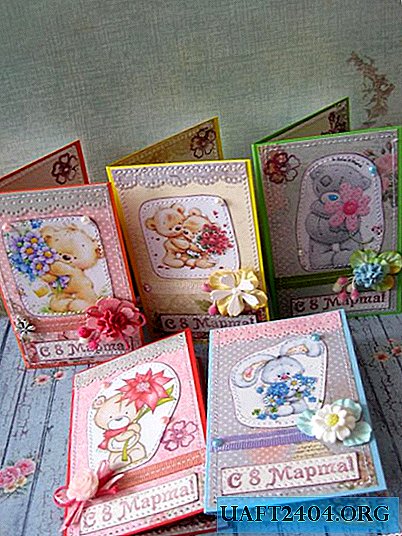
We tie bows, twist bunches of stamens and decorate each card.


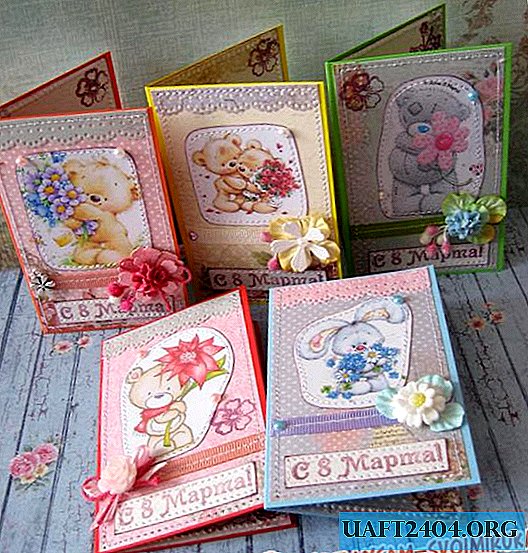
The result was such cute and very beautiful greeting cards. Thanks to all!

Share
Pin
Tweet
Send
Share
Send