Share
Pin
Tweet
Send
Share
Send
To protect yourself from pain in the wrist joint when using a computer, you must use a special pillow. It is suitable for working on a laptop and for a stationary computer with a keyboard.
1. The medical pillow can be sewn with your own hands. For example, a cute pillow with a voluminous application in the form of a sleeping cat on the front side.
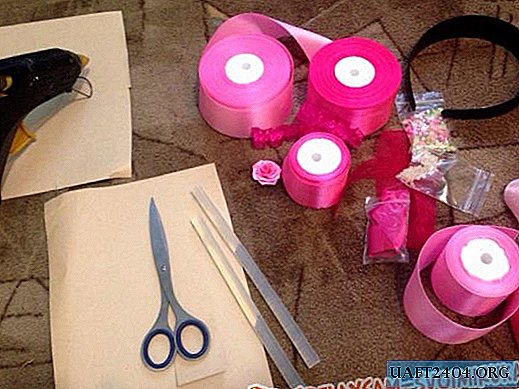
2. For this you will need: fabric, filler for the pillow, scissors, needles, ruler, pencil, thread, paper napkins.

It is better to choose a dense fabric so that the filler does not come out of the pillow, as well as wear-resistant, since the product will be actively used. As a filler, a synthetic winterizer, synthetic winterizer or other fluffy filler is suitable. If you plan to wash the pillow in the washing machine, you need to take care of this in advance. The fabric and the filler must withstand washing, the threads should not be dyed. To determine the size of the pillow, and therefore the size of the fabric cut, it is necessary to measure the length of the laptop or keyboard and add a few centimeters on each side. The width of the pillow can be chosen arbitrary, but not less than two-thirds of the distance from the wrist to the elbow.
3. In our case, 2 rectangular pieces of fabric 52x29 cm and one piece of arbitrary size for the volume application of the cat will be required. You can use an unnecessary sweater or sweater, cutting off the bottom and one sleeve from them. We measure the desired piece of fabric for the pillow base and draw a cut line with a pencil.

4. Fasten the fabric with needles and cut off along the drawn line.

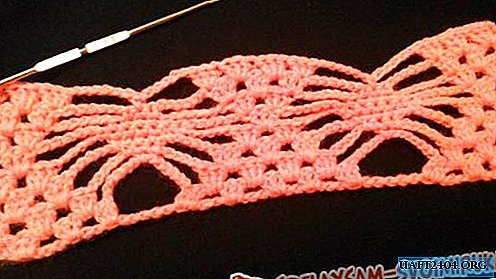
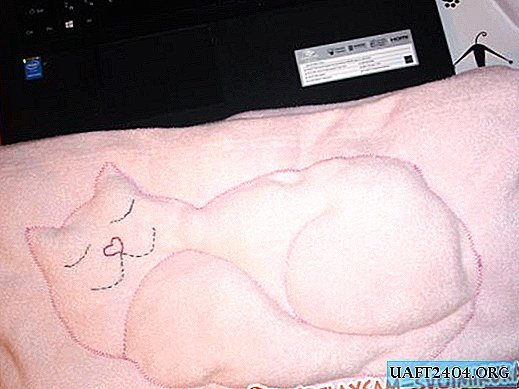
5. Using a pencil, draw a cat sketch on paper napkins. You can use several napkins, then connect them.

6. We take a piece of fabric for application and pin napkins to it. Needles should be inside the picture.

7. Cut the cat along the contour. Do not remove the needles.

8. Take the thread to the color of the fabric and sew the lines of the pencil drawing manually.

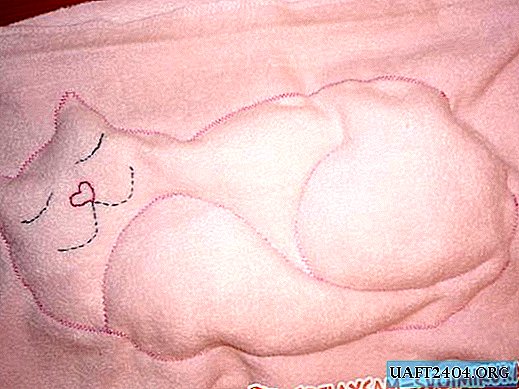
9. Remove the tissue from the fabric. We take colored threads and sew the contours of the eyes, nose and muzzle so that they become brighter and stand out against the general background.

10. We pin the cat blank with needles to the front side of the future pillow. We take a thread of any color and try on a cat blank to the pillow.

11. Then, on a sewing machine, sew the cat blank along the contour with thread of contrasting color, leaving a small hole for filling with filler. It is better to use a zigzag seam. We take out the threads of the basting.

12. We fill the application of the cat with the prepared filler. We do this not tightly, only to give volume.

13. Sew a hole on the applique of a cat on a sewing machine. Then we sew a zigzag seam outlines of the tail and paws.
14. Sew the pillow along the contour, leaving a hole for the filler. We fill the pillow with filler, distribute it evenly. The pillow should keep fit, but not be tightly packed. Do not be afraid that it is higher than the keyboard or laptop, over time, when used, the filler will settle and take up.

So, the pillow is ready. Do not forget to shake the product regularly to distribute the filler.
Share
Pin
Tweet
Send
Share
Send