Share
Pin
Tweet
Send
Share
Send

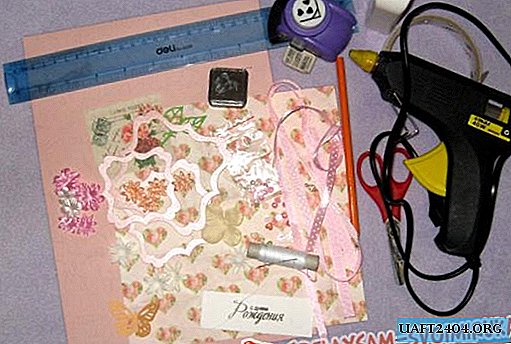
To create a patch we need:
- - a small piece of denim;
- - pen or felt-tip pen;
- - brush;
- - acrylic paints (red, green, black) or paints for fabric;
- - sewing needle;
- - Mouline thread (red, black, green);
- - glue moment;
- - scissors.

We proceed to create the patch.
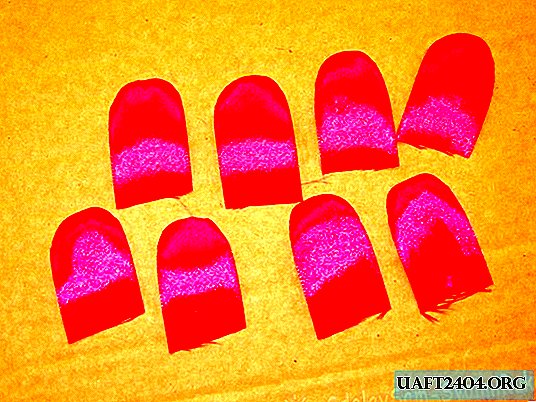
Step 1. On the denim fabric, draw a rose outline, as shown below.

Step 2. Paint the rosebud with red paint, and the stem and leaves with green paint. This is necessary so that when we embroider, the denim does not shine through the threads. Do not dilute the paint heavily with water, otherwise it will spread and leave ugly stains.

Step 3. Black paint outlines our rose. Leave to dry our blank.

Step 4. I smooth the embroidered bud. Try to choose the threads of the mouline thread to match the color of acrylic paint. Do not be afraid if the stitches are uneven and there is room between them.


Step 5. I smooth the embroider the stem of the rose, and then the leaves. The direction of the stitches can be any, for example, “Christmas tree”, as you wish. I chose an easier and faster way to embroider.


Step 6. Black threads embroider the contour of the rose. You can use the sewing machine by choosing a zigzag seam and the shortest stitch length.

Step 7. We continue to work on the rosebud. Select the petals. We sew arcs, stripes, lines with black threads, but try to make it look like rose petals. If desired, it will also be possible to make leaves. You can also use a sewing machine, this method will be faster.

Step 8. Cut, leaving 5 mm at the edges.

Step 9. Coat the edges with glue and bend to the back side so that the patch is more accurate and the edges do not open. (Photo 12)
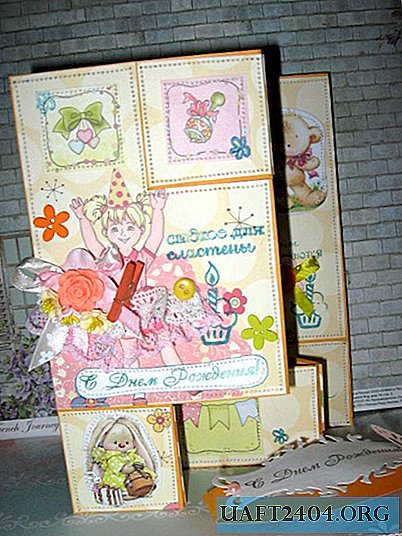
Here we have such a striking stripe!


This patch can be sewn on any clothes, on any type of cut. So you can remake old clothes or decorate nondescript.
Share
Pin
Tweet
Send
Share
Send