Share
Pin
Tweet
Send
Share
Send


Work on the table brought a lot of pleasure. The order from my customer was special (and interesting). And as a stimulus - the budget. Her request included the following items:
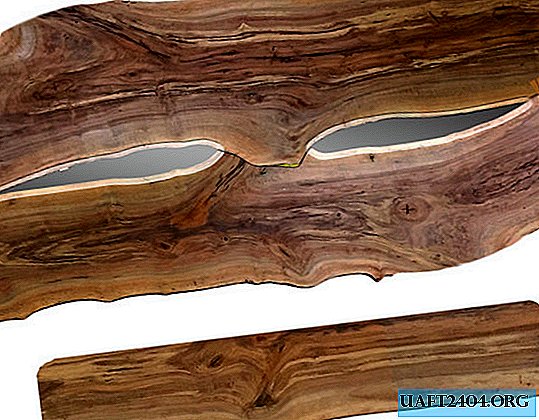
- - Countertop with non-edged edges on both sides, consisting of two separate walnut boards.
- - Lots of patterns and contrast.
- - Cavities in the middle for a collection of agates.
- - To illuminate the agate in the cavity should be LED backlight.
- - Cavities are covered with removable glass inserts.
- - The dimensions of the countertops are 100 cm wide and 210 cm long.
- - Custom steel legs (shaded).
- - One bench in a similar style.
- - Production time is not more than a month.
I tried to document every step of the process, but the deadlines were rather tight, and sometimes I did not have the opportunity to take a photograph. Sorry for the missing photos; I will try to describe these steps in more detail ...
Material Search


I do not consider this stage to be the main, but it can last quite a while. A significant part of the time, energy and gasoline was spent on visiting various sawmills and wood stores in search of suitable material. It was like a feat, given the established requirements for width. I needed to find two boards with raw edges, and putting them side by side, the total width should be the necessary 100 cm. Their shape should form voids to accommodate the customer’s agate collection. Boards should have characteristic pronounced patterns. There were still standard requirements: the boards were dried in an oven or for a couple of years in the air, have a pleasant appearance, a plane without unnecessary twisting, warping, cuts (all that would require removing the layer in thickness). And, of course, the cost should be reasonable.
The search usually starts with the electronic classified sites in the building materials section. Often, local craftsmen put up for sale extra boards at reasonable prices. Stores can also place ads, thus trying to attract more customers. I found several decent options nearby, but there was nothing that would satisfy all the requirements. After that, I looked at some local lumberjacks who saw logs on boards. These guys often have their own sawmills, and they sell the board at a good price, because they get the logs cheaply or for free, and the quality is not always the highest. But this option also did not work, so I had to move on to the stores and warehouses. Obviously, a choice has already appeared here, but at a very high price.
Finally I found what I needed at a local store. Not really in the store. It turned out that its owner has his own sawmill and warehouse, which is full of boards with unedged edges. He had several stacks of nuts from which one could make a choice. Here I found what I was looking for. The boards had an ideal width, sawn from one log (symmetry was preserved), dried in the right conditions for 3 years, beautiful and flat, and the price was relatively inexpensive. Bonus was attached to them. Since they were treated with a wide planer, I didn’t need to eliminate by grinding an unevenly sawed surface. I don’t have a 60 cm wide planer ...
During the search, I sent photos to the customer to get her approval. We both opted for the two. Finally, it was possible to proceed to the next stage of the project!
Design development and approval


Before embarking on a tool, almost every my project starts with the development of design in a computer-aided design (CAD) system. With raw edges, this is a little harder to do since it’s hard to get them repeated in CAD. I solved the problem by placing a high staircase and taking photos of the boards along the entire length. Then he imported the pictures into the program and circled the contours. A measuring tape was visible in the photo to more accurately scale the graphics.
After designing the electronic models, I overlaid them with a real shot of the surface of the boards, so that it was easier for the customer to imagine what I was going to do. After we decided on the design, I designed different elements, how they will interact and be attached to each other.
For this project, I drew a vector different projections of the model for various purposes. He drew the outlines of the central cavities and exported them to a DXF file, which he then sent to the glass company so that they cut the same shapes for me. I used the same file to make a template with a cavity outline, on which it will be possible to cut out polycarbonate plates that will be mounted on the underside of the countertop. I cut out patterns and polycarbonate on my homemade CNC milling machine. I also cut out a template for fixing parts of metal legs in order to weld them correctly. I even cut out profiles of various metal parts with a laser, which will help me to cut leg parts at the right angle. Having designed the full model in CAD, you can start work, or at least it will be much easier to work with it.
Board preparation (puttying cracks, fixing knots, grinding)


In most cases, I like it when all the knots, cracks, voids are fixed and filled with black epoxy resin, especially when working with nuts. Black color most often looks natural, and sometimes gives contrast. Since the boards here and there were quite deep cracks, I used resin with a long hardening time; this will allow it to absorb well and help to really fix the cracks, and not create the illusion of filling. The disadvantage of this method is that almost always it is necessary to apply the resin again the second, and sometimes the third time. Sometimes for reprocessing I use a resin with fast curing times. I filled all the voids on both sides of the boards so that they could be firmly fixed. It is better to apply epoxy resin with a "pot" so that no bubbles are detected during grinding (so they rise above the plane of the board).
After filling all the voids, I treated the protruding parts of the epoxy with an abrasive with P60 grain.
Shaping at joints

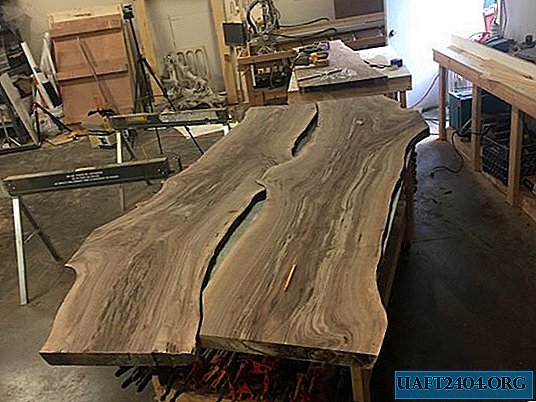


Unfortunately, I did not particularly document this step. Essentially, I laid one board on the other in the required position, and marked out the area to be removed. Directly for work, I used an electric jigsaw, an angle grinder (with a milling cutter and a blade disc), and, where necessary, hand tools for carving. At this stage there was a lot of fine workmanship and fit. Over the entire length between the boards, I left a seam about 4 millimeters thick. I thought that this way the table would look more expressive. On the other hand, a seamless fit leaves corners, which doesn't look very good. The thickness of the seam will be preserved thanks to the dovetail key. Then I aligned the edges of the table with a circular saw.
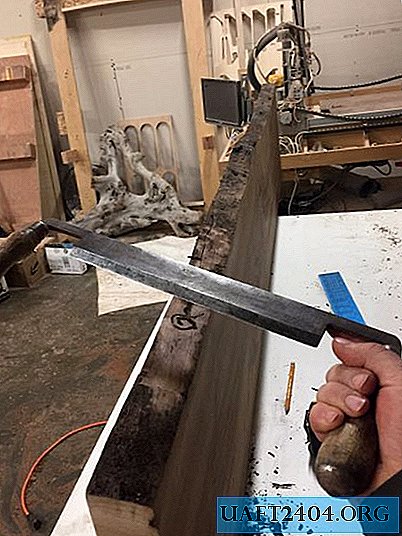
During this stage, I scrubbed the rough edges of the bark residues on both the table and the bench. Then I walked over them with an angle grinder with a petal disk, so that the unedged edges became smoother.
In the bench, I cut one raw side with a circular saw. I agreed with the customer that on the bench one side would be straight.
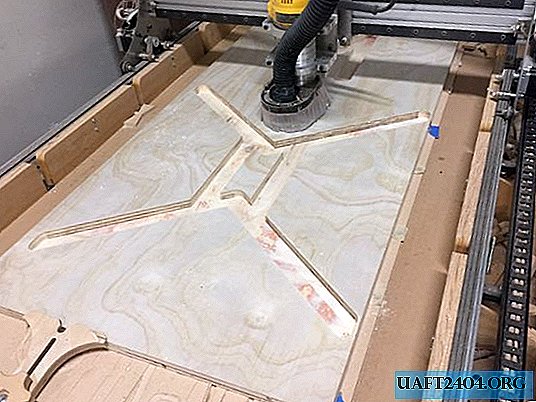
Joining boards with dowels and dowels


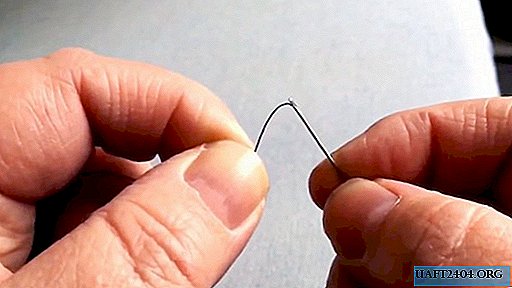
I used dowels to connect the central parts. They serve to fix two boards in one plane (in relation to each other). The main load on fixing the countertops will fall on the keys and legs of the table. Unlike the keys that I happened to meet, I made these with a thickness almost equal to the thickness of the boards.
The material for the dowels was made from gluing a sheet of walnut between two sheets of mahogany, and a CNC machine cut out a mold. I also made a template that will help to cut out the keyways with a hand milling cutter.
After aligning the seam between the boards, I fixed them to the table with clamps. Then, using the template, I cut out the grooves with a milling cutter. Where the milling cutter left the rounded groove I had to work with a chisel. You could make a dovetail with rounding, but I like the look of even corners.
When the keyways were ready, I carefully tried to insert a dovetail (to make sure it won’t get stuck!) And started gluing. The dowels were made a little thicker than the grooves, so they were sanded flush with the countertop.
After this stage was completed, I sanded all the surfaces moving from grain P60 to P180. Final grinding with P220 grain was carried out immediately before polishing.
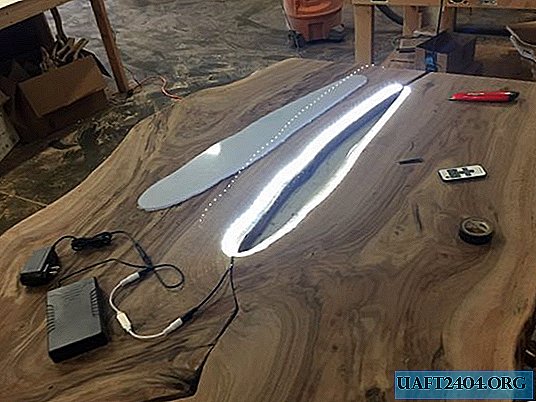
Glass, polycarbonate and LED insert


I used the CAD model to create inserts for glass and a polycarbonate plate. Double-sided tape is perfect for temporary fixation of blanks on the table surface. Then I again used the hand mill to create grooves on both sides of the boards. For more accurate work, I used a zenzubel and a chisel, until the glass lay flat and fixed without hesitation. The glass was removed and inserted many times, for this I used suction cups.
Inserts from a polycarbonate sheet were prepared using a CNC machine and an end mill. Here I had to make a decision on how to fix plastic inserts more securely at the bottom of the countertop. I wanted them to be easy to remove, for example, for replacement due to scratches. I decided that the checkboxes made of walnut would be just right. Therefore, I cut them with a laser cutter from the material I have.
Before inserting plastic, I had to deal with the LED backlight. For a more sophisticated effect, I decided to place LED lighting around the perimeter of the plastic. This technique will also help hide the wires. I purchased a thin LED strip with an adhesive side, which can be easily glued to the recess that I made earlier around the bottom of the cavity. I had to assemble two separate electrical circuits in the form of Y, which then should go into a separate dimmer. The dimmer on the one hand connects to the battery and on the other with a 12-volt power supply. This allows the lamps to glow both from batteries and from the mains. The idea is that the hosts connect the charger when they are not using the table, and it would be possible to remove the wires when they interfere with them. The wires and battery were secured to the bottom of the tabletop using clamps and anchors. I considered the option of embedding the battery and wires in a tree, but finally decided that it was better not to, since all these components would have to be replaced sometime. In the end, this table should become a family value that will outlive me, the client and the LED lamps. They say that LED-lamps can last quite a long time, but if there is a desire, they can be replaced with something like that.
After trying on the plastic and checking the lighting, I set the plates aside. Locking flags and plastic can be attached after polishing.
Polishing


The customer wished to use polishing material, which will preserve the natural look of the tree, make it resistant, but will not look like varnish. Therefore, I settled on OSMO PolyX. This product is designed for a wooden floor, but it is also suitable for furniture. It has a low content of volatile organic substances, and a high solid content, since it mainly consists of wax and natural oils. It is easy to apply. To achieve a good result, two layers are enough.
I did not take photos of this process, as I was constantly wearing rubber gloves smeared with polishing paste. Before applying the layers, I once again walked along the surfaces and edges with a P220 grain abrasive.
To evenly apply OSMO to the surface, I used a spatula. It was easy for them to completely moisten the tree and with a paste to cover all minor bumps. At the edges I had to use fabric. After wetting, I removed the rest of the paste with a lint-free cloth. At this stage, it is important to thoroughly work out the surfaces, but completely remove the excess. I covered the top, bottom and all edges of the table and benches, and let them dry for a day or two, then I did it again. Only two layers are enough, and in fact, if applied more, this can lead to an undesirable glossy effect.
As a result, the processing of wooden parts was completed, I laid the polycarbonate plates in their places and secured them with flag clips.
Creation of legs and their installation


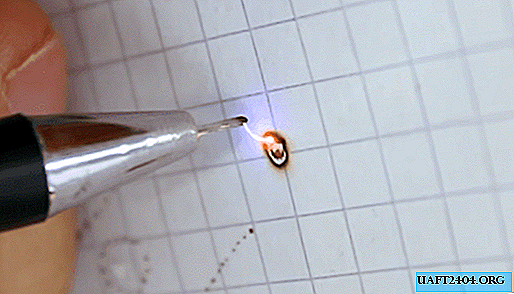
The legs were made of a rectangular steel pipe measuring 3.8 x 7.6 cm and 3.8 x 3.8 cm of an iron corner. To make the process easier, I cut out patterns with a laser cutter to fix the necessary components and the workpiece, which will help to put everything together at the right angle. Once upon a time I was a great welder, but years went by and without enough practice I still had functional skills, but I forgot how to cook with decorative seams. To smooth out this shortcoming, I used an angle grinder to grind away excess metal and give the surface a more neat appearance.
Upon completion of the welding work, I processed all the metal surfaces with an angle grinder with a blade disc so that they have a uniform texture and shine. In the corner metal, I cut out oblong holes for fixing the countertops so that in case of compression or expansion of the wood there would be no problems. I welded the lower parts of the legs with iron plates, then to drill holes in them and install a height adjustment mechanism.
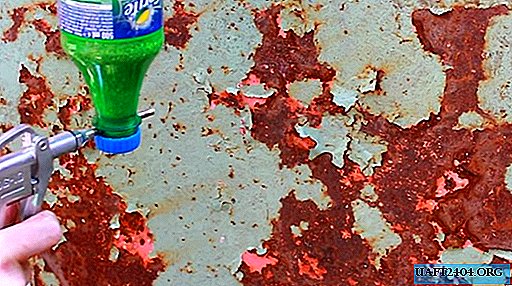
The customer wished the legs were black. We pondered a little on the question of how best to do this. Instead of paint, we decided to use a steel burnishing agent, so the result will be more stable and better hide the flaws. I used a product called presto black. Application was carried out through a spray until all surfaces were covered with a substance, and then neutralized its effect using a solution of baking soda, so that the metal did not begin to oxidize (rust). After removing the burnishing agent, I dried the metal with a compressor and covered the surface with matt polyurethane so that it would not rust along the road.
To attach the legs, I used furniture nuts and bolts, which will allow you to remove and install the legs again and again. In the bench, I fixed the legs with large wood screws, since they are not large and can be moved without removing the legs.
Delivery and installation


The customer lives three hours from me, so when transporting the table it was important to pack it correctly. I disconnected the legs from the bench and table, each component separately wrapped and glued into plastic packaging material. It is important to wrap and pack the parts in disassembly order, because then, when you reassemble them, they will be in the right way. It will be easier. For example, when I arrived at the house where the client lived, the first thing I happened to unload from the van was a countertop. I placed her in the house upside down on the floor. The next parts available were the legs that I attached to the countertop. Then the bench, the legs of the bench and so on. This may sound like common sense, but if you get carried away with packaging, you can easily forget about everything. I did not shoot this process, but I am sure that it is quite simple to imagine.
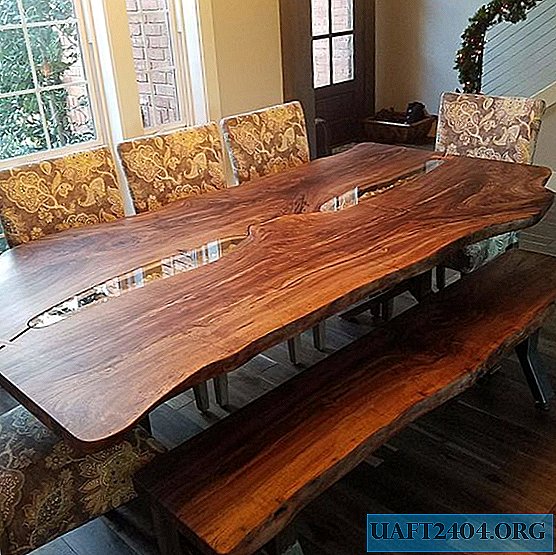
The customer really liked the dinner set, and now in the illuminated recesses lies her collection of agates, in the middle there is a bouquet for the season, and around a specially selected set of chairs. This is in the photo. A table can give revival to an already lovely room.I am glad that this creation will fall into a beautiful house where they will be admired and taken care of.
Thanks for your attention!
Original article in English
Share
Pin
Tweet
Send
Share
Send