Share
Pin
Tweet
Send
Share
Send
Of course, we are not talking about how to make a wall for the living room with our own hands. This is a difficult task, for its implementation will require a lot of skill. But few small pieces of furniture can be made.
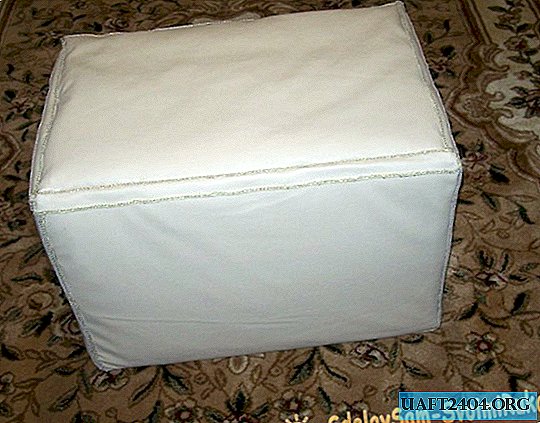
For example, make a ottoman that diversifies the interior of your apartment.
To create such an ottoman, we need cardboard, wood slab, glue, furniture stapler with staples, unnecessary fabric, synthetic winterizer or other soft material, base fabric and dermatin. You also need to take care of purchasing a cord for the ottoman.
When all this is ready, we get to work. It should be noted right away that the production time of such a ottoman is about 48 hours. But, of course, experienced mates can cope faster. Moreover, for the manufacture of this furniture as a whole, you do not need any special skills other than the ability to use a ruler, glue, stapler and, perhaps, adhesive tape.
Making your own ottoman
So, first we take two cardboard boxes measuring 40 cm by 60 cm. If there are no cardboard boxes, then they can simply be glued from cardboard. Just note that we need a lot of cardboard. In the manufacture of this ottoman, cardboard was used, which remained from a whole furniture set of 8 items, including cabinets, a bookshelf, table, bedside tables, etc.
We fold the cardboard inside the boxes, twisting it first. You can not twist, but simply lay cardboard rectangles of the right size on top of each other and glue them with tape.
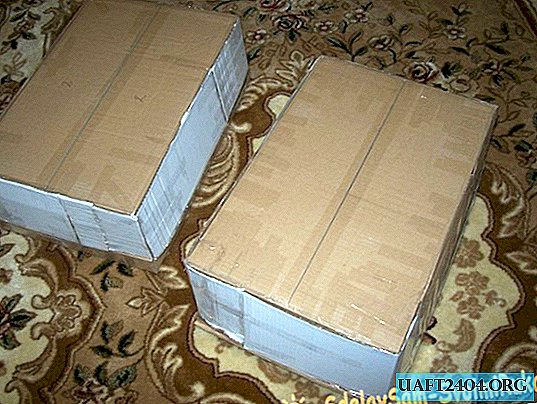
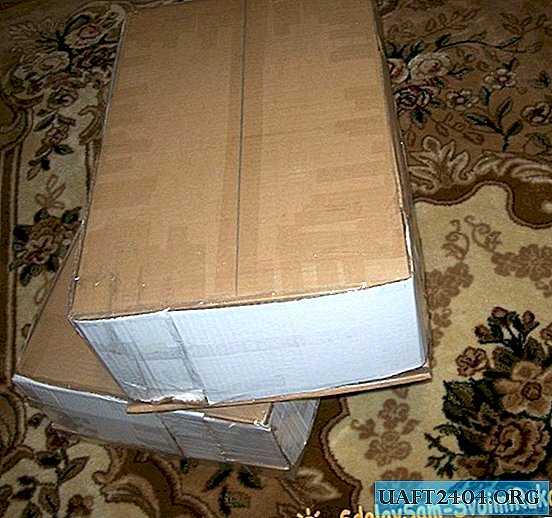
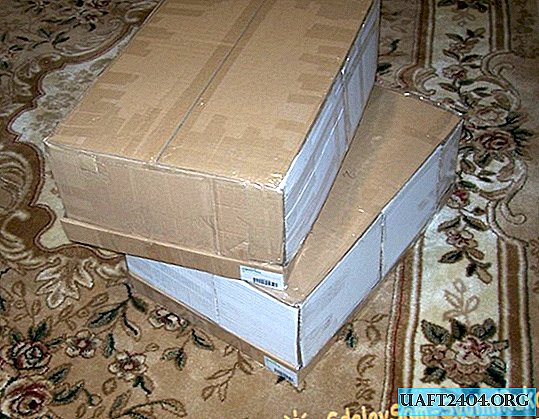
You can immediately make a cardboard base, and not take two boxes. However, then a very large product will be obtained. Next, two boxes will be placed on top of each other.
In order for the top of our product to be more durable, it is necessary to take a wood slab of the right size (40 cm by 60 cm). We have assembled such a plate from 2 pieces.
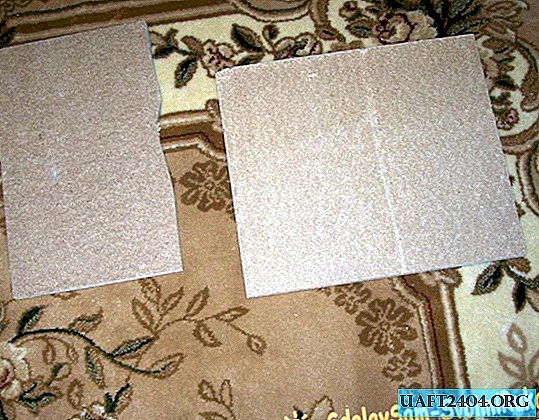
The plate will then stick to the top of the ottoman.
After the cardboard base is ready, we glue the boxes and glue the wood slab on top.
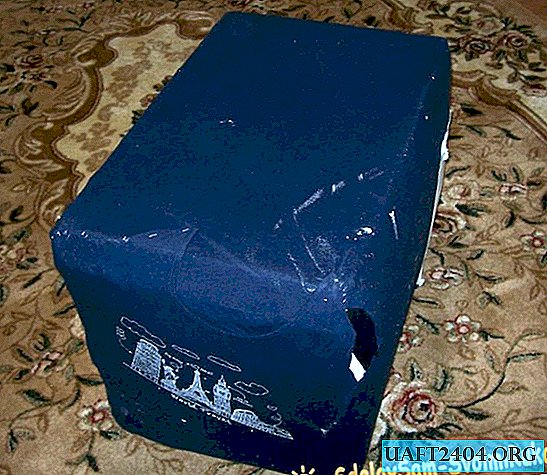
Then we take the fabric we do not need and wrap it around the future ottoman. This is necessary to ensure that all parts are held tightly in relation to each other. Also, this is partly an option for the proper utilization of already worn and suitable only for "throwing" tissue. You can fasten fabric and cardboard with a furniture stapler.
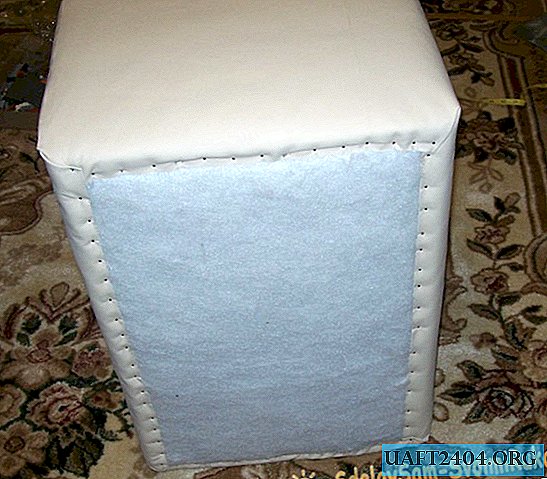
Then we take a synthetic winterizer and impose it on the future ottoman. The synthetic winterizer will give softness to our product.
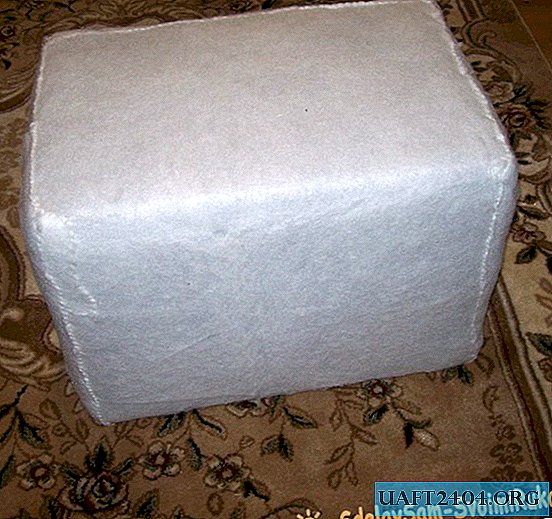
In our case, we applied 3 layers of synthetic winterizer.
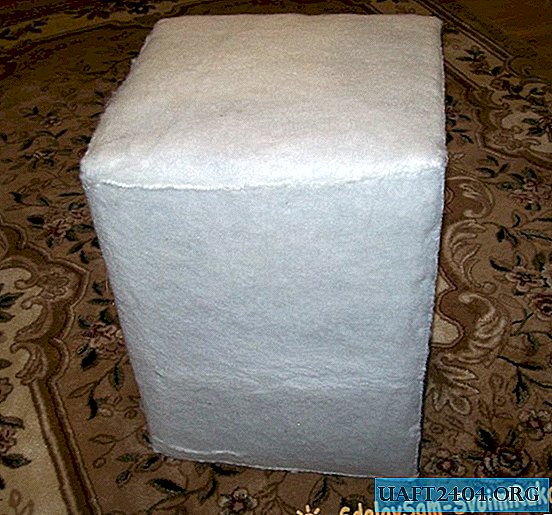
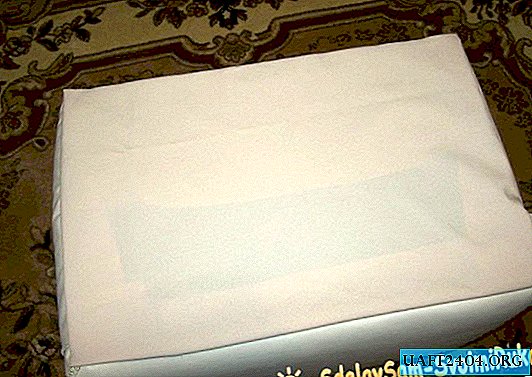
Now that the lining is ready, we begin using white nails or a stapler to attach a white dermantine. First we make a dermantine pattern, which will consist of 2 parts. Side parts and top rectangular sheet. Only from below we leave a place for the bottom lining.
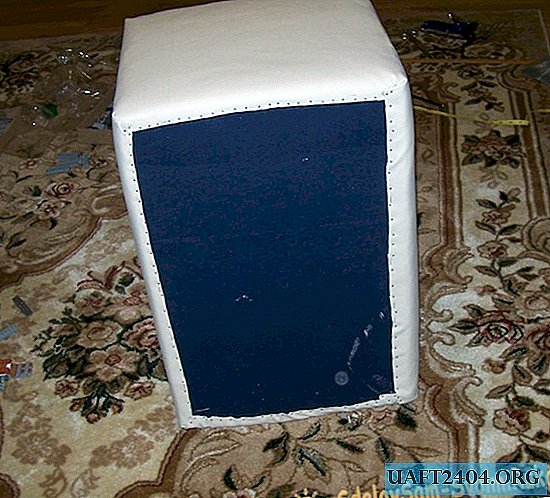
But here is how the top of the product will look, where we attached a wood slab.
In general, our ottoman looks like this.
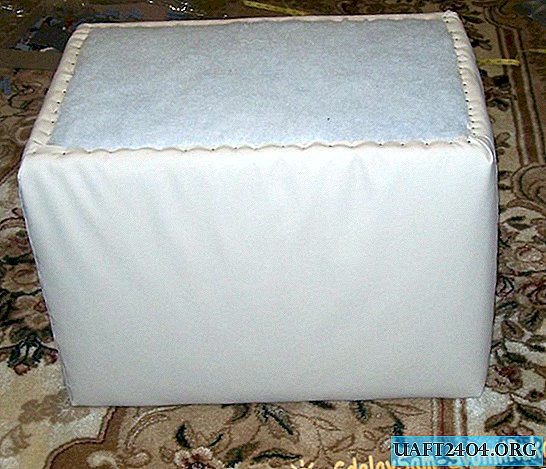
Then we attach the upper part of the dermatin.
And below with a stapler we attach the fabric.
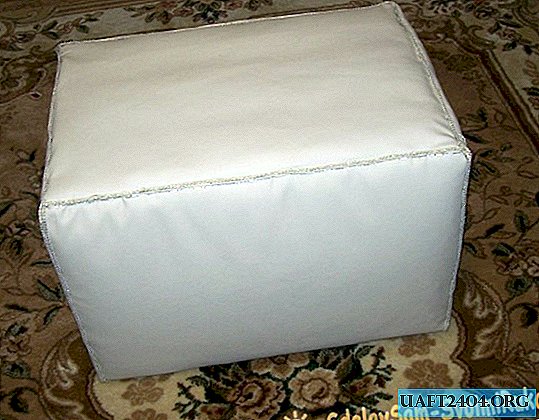
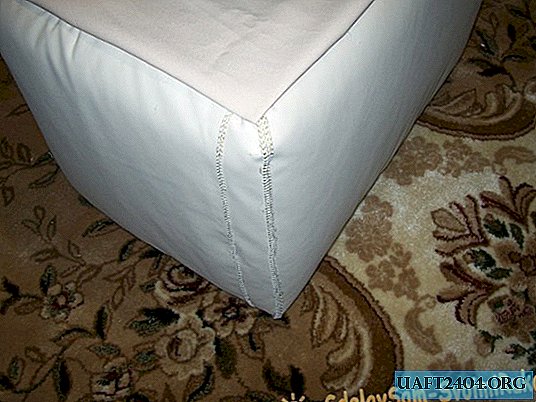
We decorate seams with a cord.
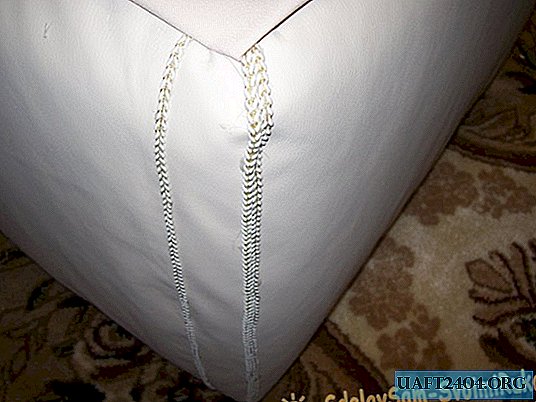
The result is neat enough.
So, our ottoman is ready!
Share
Pin
Tweet
Send
Share
Send