Share
Pin
Tweet
Send
Share
Send
Materials and tools:
- sharpened steel rod;
- knife;
- insulating tape;
- tight gloves.
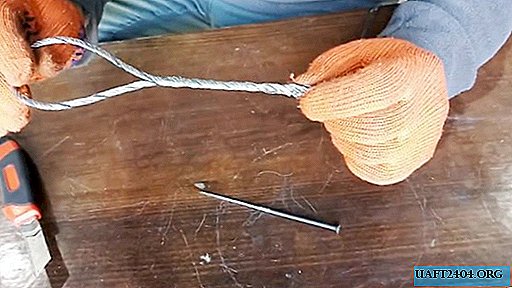
Loop rope
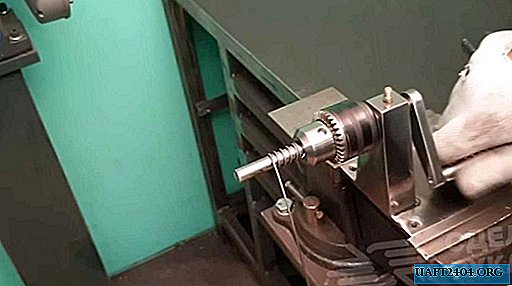
The first step is to prepare the steel bar. For slings with a diameter of 4 mm, it is enough to grind a long nail or a screw into a semblance. For a thicker cable, you can use a mount and a strong screwdriver.

The end of the line is divided into a pair of identical strands. This is done with the tip of the rod.

Work should be done with gloves. The rod is threaded through at the beginning of the cable, after which it is used as a lever. It should be rotated against the direction of binding. You should get 2 dense bundles without breaking out a separate wire. It is desirable that their length be 2 times longer than required to form a loop. It is better to leave the filament cable available at the base of the weave.

Further, the fluffy locks are arranged in the middle crosswise so as to obtain an eye of the desired length.

After that, the remaining ends are alternately screwed into the screw body of the loop. They ideally fit in those places from where the braid had previously been braided.

First, one branch of the cable is screwed to a whole sling, and then the second.


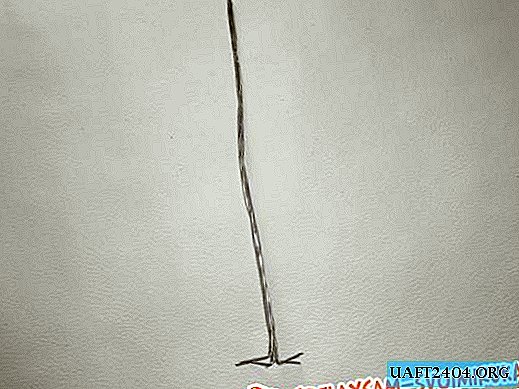
It turns out a finished loop, but with protruding long tails.


They also need to be woven. Here the more difficult task begins, especially if the bow of a massive cable is performed. It is necessary to cut the threads, since further they will interfere.


You should take the loop in one hand or clamp it in a vise. A rod is attached to the beginning of the loop.

It must be rotated counterclockwise. As a result, the rod begins to twist into the cable, while inserting the remaining ends from the loop into it.


Once the tails are fully woven into the cable, the rod can be pulled out. On this work can be considered almost complete. It remains only to wind the electrical tape on a double section where the wire protrudes.


It is needed to prevent injections in the fingers and palms. Instead, you can use a heat shrink tube or wrap a thin soft wire in continuous turns.
The loop prepared in this way can be used anywhere. Miners and builders use such a pen. In everyday life, you can braid a cable for towing it or for raising a bucket from a well.
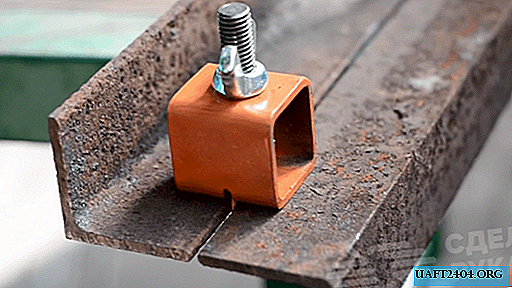
Tensile test
Take a cable with two braided loops using the same technology, but with a smaller diameter.

We fix on the edges of the jack.

Under load, the chalk does not open, because the stronger the tension, the stronger the pressed strands are held.

As a result, the cable itself broke, the loops remained intact.
Share
Pin
Tweet
Send
Share
Send