From unnecessary scraps of pipes and pieces of metal that you can “dig” in a garage or home workshop without problems, you can make a home-made rack for a power drill.
It is attached to a table or other flat horizontal surface using self-tapping screws. The main purpose of this design is the machining of small workpieces and parts made of wood or metal at home.
To make this home-made rack, you will need available materials: bolts with nuts, a piece of round pipe, a piece of profile, a steel square, a square plate and metal strips.

The main stages of work
The first step is to drill four holes at the edges of an 8 mm thick plate with a 4 mm metal drill. You will also need to make a sweat under the caps of the screws.

As you might have guessed - this plate with holes will act as the base of the entire structure.
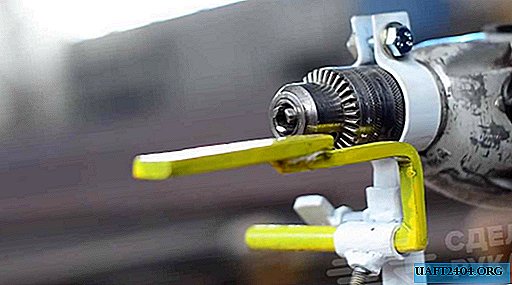
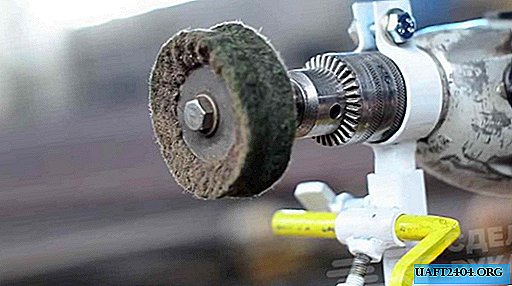
At the next stage of work, it will be necessary to bend a small piece of a steel square at an angle of 90 degrees, so that a L-shaped blank is obtained as a result. To do this, you can use a bench vise and a hammer.

Next, you need to drill holes with a diameter of 9 mm in the pipe and profile section. Then the master drills two more holes along the edges of the strip, and bends it into a clamp, which will be worn on the "neck" of the drill.

At the last stage of the work, it is necessary to clean all the parts with a grinder, and then the master welds everything "to the heap." The end result is a stand and a support table for blanks.

For details on how to make a homemade do-it-yourself stand for an electric drill, see the video on the site.