Share
Pin
Tweet
Send
Share
Send
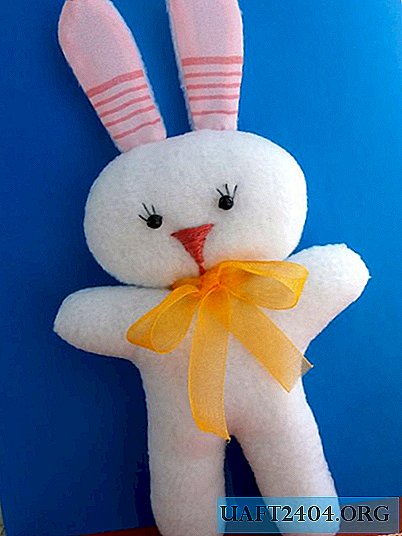
To make a toy you need to prepare:
- white fabric, for example, fleece or faux fur;
- Calico pink fabric with a pattern;
- synthetic winterizer;
- small black beads for the eyes;
- white, pink and black threads;
- yellow satin ribbon;
- a needle;
- scissors.

The procedure for working on a soft toy.
1. Draw on paper a pattern of toys. You can attach a sheet of not very thick paper to the monitor screen and circle the details from the photo with a simple pencil. We should get the details of the oval head, elongated ear and torso with legs.

2. Cut out two identical parts of the torso with legs from white fabric, adding allowances for the seams.

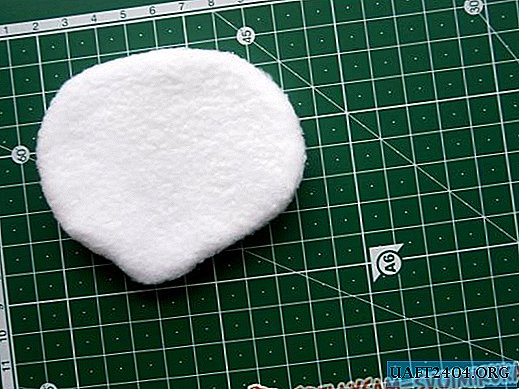
3. Now we will translate the pattern of the bunny’s head onto a white cloth, circle it with a simple pencil and cut out two identical parts of the oval-shaped head, adding allowances for the seams.

4. For the ears we need four parts. We cut two identical details of the eye (with allowances for seams) from white fleece fabric, and two from pink chintz fabric.

5. We begin to sew our bunny. First, we will sew the torso with paws - for this we attach the parts to one another with the front side and sew along the edge. In the upper part of the body where the neck should be, we will leave a small unstitched section.
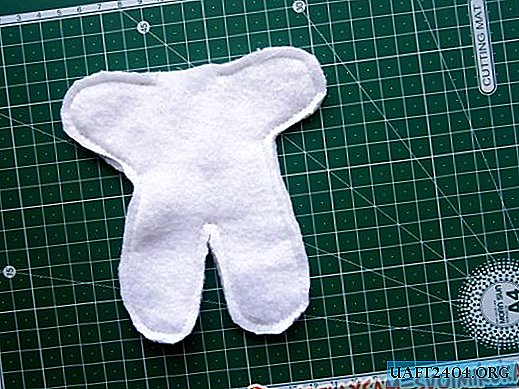
6. The next step is stapling of the head. Fold the details of the head, too, front sides and sew. In the neck area, we also leave a small unwired area.

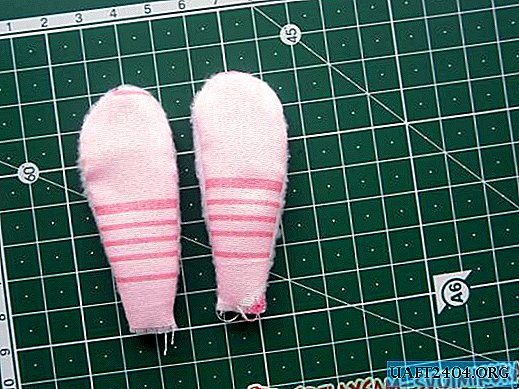
7. It remains to sew the ears. Each ear is sewn from white and pink fabric, folding the details with the front sides. Sew the ears so that there is a hole in the bottom.

8. Now you need to turn out all the details. First, twist the torso with legs and carefully straighten it.

9. After that, we turn out the detail of the head of the bunny and also straighten it.
10. It remains to turn out both ears, helping yourself with a pencil or thin stick.
11. The next step is stuffing the toy. First of all, we’ll fill the body with a synthetic winterizer. Stuff the toy evenly.
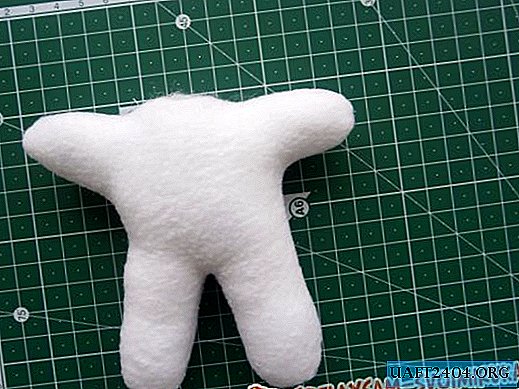
12. After that, we will tightly fill our heads.

13. Sew on the head and torso unstitched sections. With white threads we sew the head to the body. On each ear we also sew holes and sew ears to the head.

14. Our bunny is almost ready. With a simple pencil, draw dots-eyes on the face and outline the nose. Sew the black bead eyes with black threads in the places marked with a pencil. We embroider cilia with black thread near each eye. According to the previously outlined lines, we embroider the nose with a pink thread in the form of a small triangle.

15. Take a yellow ribbon 37 cm long and tie a bow from this ribbon to our bunny.

Our toy is ready. I hope this snow-white bunny with a bow will delight your child. Such a bunny can be sewn not only from white fabric - you can use blue, pink, and fabric in a small flower.

Share
Pin
Tweet
Send
Share
Send

